Friday, 25 November 2016
Torture Scene Finished
Here is my edited torture scene, I am really pleased with the outcome of this scene as I think the makeup preparation really helped make the scene look realistic and gritty. As well as applying the bruising, I also made the side of my actors face look like it was bleeding, I did this by combining fake blood with black paint so it looked darker and more realistic and dirty.
The filming lighting also really helped give the garage a damp, sinister look. I was going to initially use my garage light however they appeared to bright. In preparation for this scene, I also had to clear alot of the everyday objects from out of the shot, just leaving the chair and lighting equipment.
Overall it took roughly 3 hours to shoot this scene, as I had to keep pouring water on my actor to emphasize his sweating. I also had to add more to his injuries as the torture scene progressed.
The next step will be animating the parts of the footage were the hits connect, this will introduce the aspect of animation into my music video. which will building up to the animated fight at the end.
Here is one of the animated hits I have already done:
The hit happens very quick however this happens alot throughout the 30 second clip, I also can't slow the animated clips down else my video will be out of sync.
This is the finshed animated scene:
I would have liked to animated some more parts to make the animation more consistent throughout the scene, however I have spent enough time on this scene and need to move on. When there is time at the end, i will come back to it.

Thursday, 24 November 2016
RAW Footage / Directing
Here is a montage of all the RAW footage from my torture scene in order to show you a behind the scenes look on my directing and planning.
Tuesday, 22 November 2016
Film Schedule
For my First Draft I would like to film the harder scenes first in order to get an idea of how hard it will be, this will also get me prepared for re-filming alot sooner. This means I will be shooting the second half of my music video first, and leaving the building up/intro for later.

I also chose to film the end scenes first as they involve the most animating which I need to start early in order to meet the deadline for the final edit.
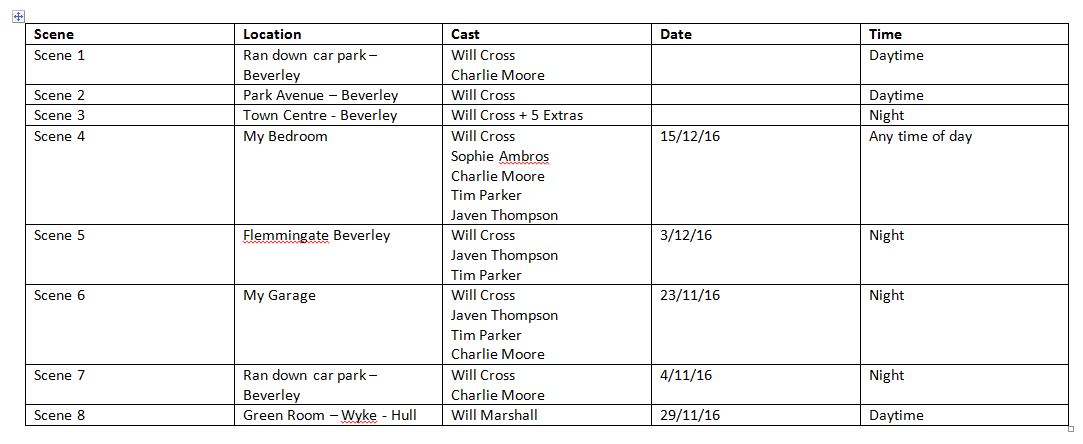
I also chose to film the end scenes first as they involve the most animating which I need to start early in order to meet the deadline for the final edit.
Monday, 21 November 2016
Preparing for Scene 6
In scene 6, the protagonist is seen tied to a chair getting beaten up by 3 gang members. I want this scene to be very gritty in order to reflect the song's genre. In order to do this, I will need to prepare the equipment:
As you can see all these scenes are shot in low lighting, in ran down locations. I am going to use the idea from Reservoir Dogs to use my garage, as that also has chains and flickery lights (seen in Casino Royal) which provides a very gritty environment:
Like in Kick-Ass I am also going to include my own lights which will be set up behind the protagonist. I also want two thugs standing with the protagonist.


I would like the men behind the protagonists to be wearing balaclava's and the man with the baseball bat to show his face, this is because I want the audience to recognize the character.
As a torture weapon, I want to be as iconic as possible so I will use a baseball or cricket bat.
The key for making for making a successful torture scene is the make-up so the wounds look realistic. Here are some video's I have used in order to prepare for re-creating bruises and cuts.
In these video's the experts say bruising is the easiest thing to replicate so that will be most of the wounds my protagonist will have. However I would like to include the odd blood drip which I have included in my animation. To recreate my bruising, I will be using various brushes, make up and face paint.
Here are some few trials I have made:

Another thing I have noticed for the torture scenes is that when the protagonist is hit, he occasionally spits a liquid out of his mouth that appears to be blood. I will also be creating a drink that gives the same effect.
Props
In this scene I would like to follow the conventions of a torture scene shown ion many movies (Kick-Ass, Reservoir Dogs, Casino Royale)
As you can see all these scenes are shot in low lighting, in ran down locations. I am going to use the idea from Reservoir Dogs to use my garage, as that also has chains and flickery lights (seen in Casino Royal) which provides a very gritty environment:
Like in Kick-Ass I am also going to include my own lights which will be set up behind the protagonist. I also want two thugs standing with the protagonist.


I would like the men behind the protagonists to be wearing balaclava's and the man with the baseball bat to show his face, this is because I want the audience to recognize the character.
As a torture weapon, I want to be as iconic as possible so I will use a baseball or cricket bat.
The key for making for making a successful torture scene is the make-up so the wounds look realistic. Here are some video's I have used in order to prepare for re-creating bruises and cuts.
In these video's the experts say bruising is the easiest thing to replicate so that will be most of the wounds my protagonist will have. However I would like to include the odd blood drip which I have included in my animation. To recreate my bruising, I will be using various brushes, make up and face paint.
Here are some few trials I have made:

Another thing I have noticed for the torture scenes is that when the protagonist is hit, he occasionally spits a liquid out of his mouth that appears to be blood. I will also be creating a drink that gives the same effect.
Casting, Mise-en-scene, Props, Location, Costumes, Cast List
Cast List
William Cross - Protagonist
Charlie Moore - Animated Antagonist, Gang leader
Tim Parker - Thug 1
Javen Thompson - Thug 2
Sophie Ambros - Girl protagonist sleeps with
Will Marshall - Singer of Band
Extras will also be used that will include the actors above as well as others. There will roughly be 4 extras.
Mise-En-Scene
Scene 1 - Protagonist Waking Up
Costume
Will Cross - Black Denim Jacket, Black Skinny Jeans, Black Vans, White T-shirt.
Charlie Moore - Dressed all black.
Location - Car Park - Beverley
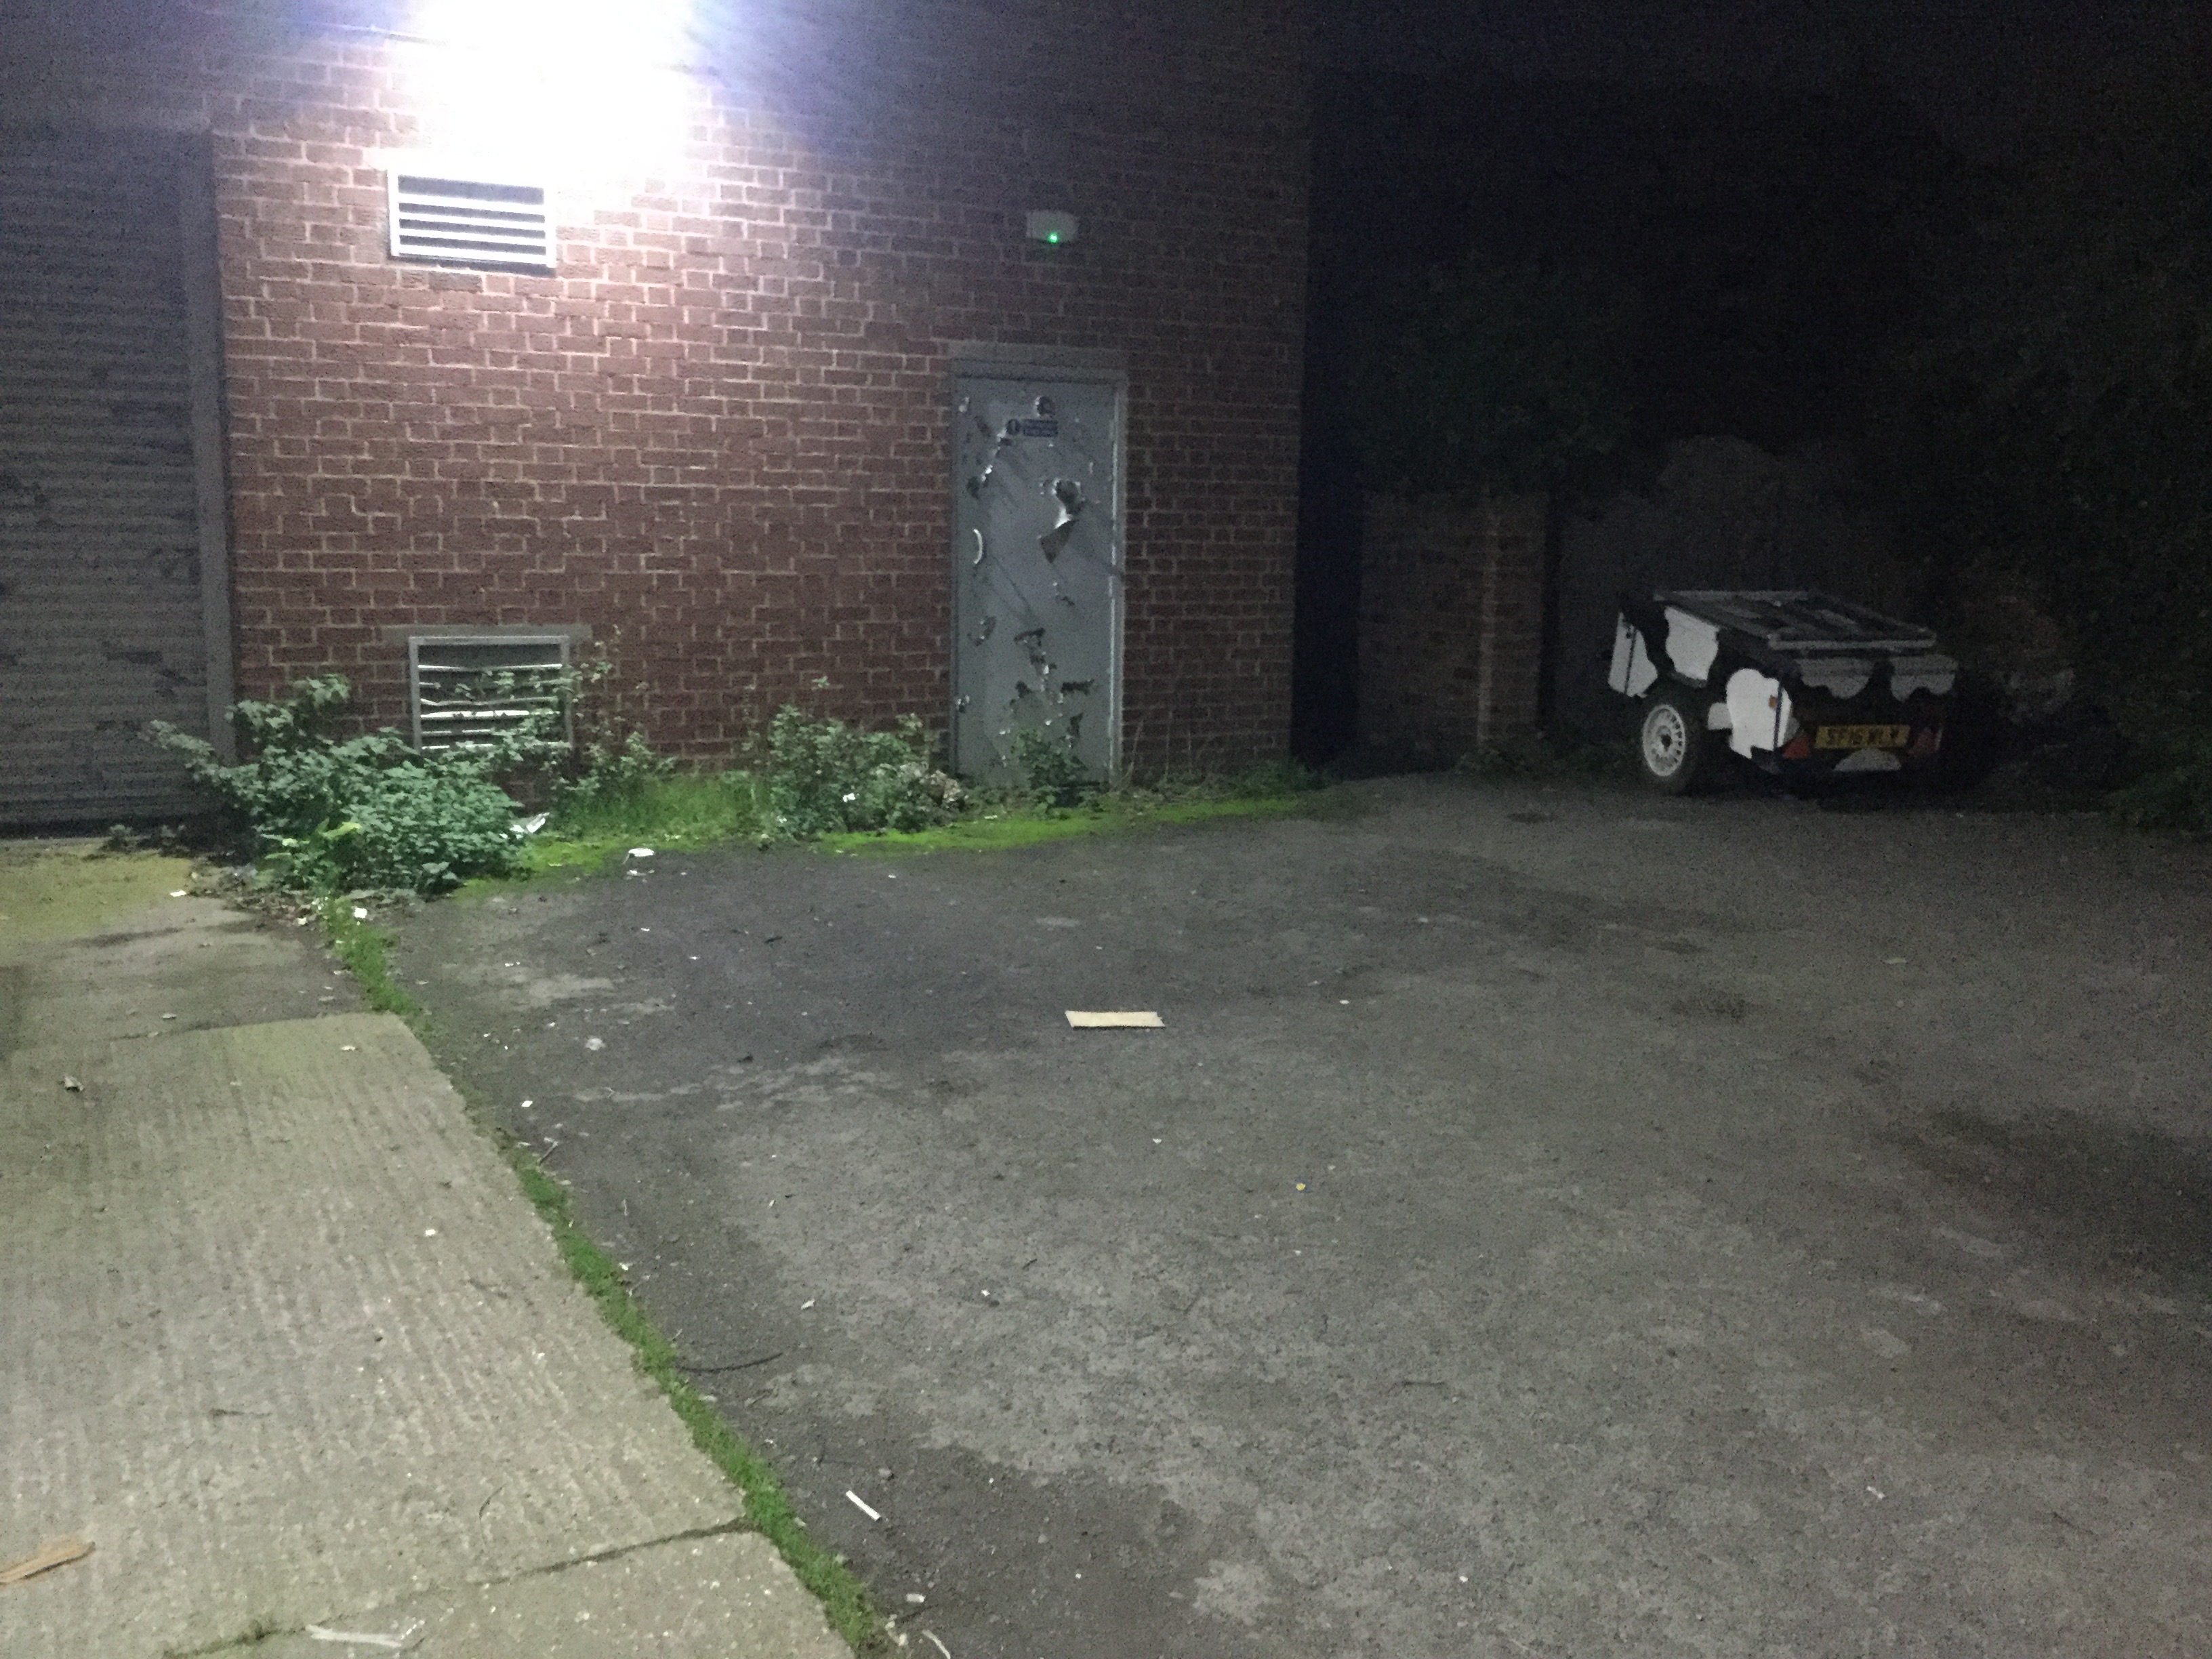
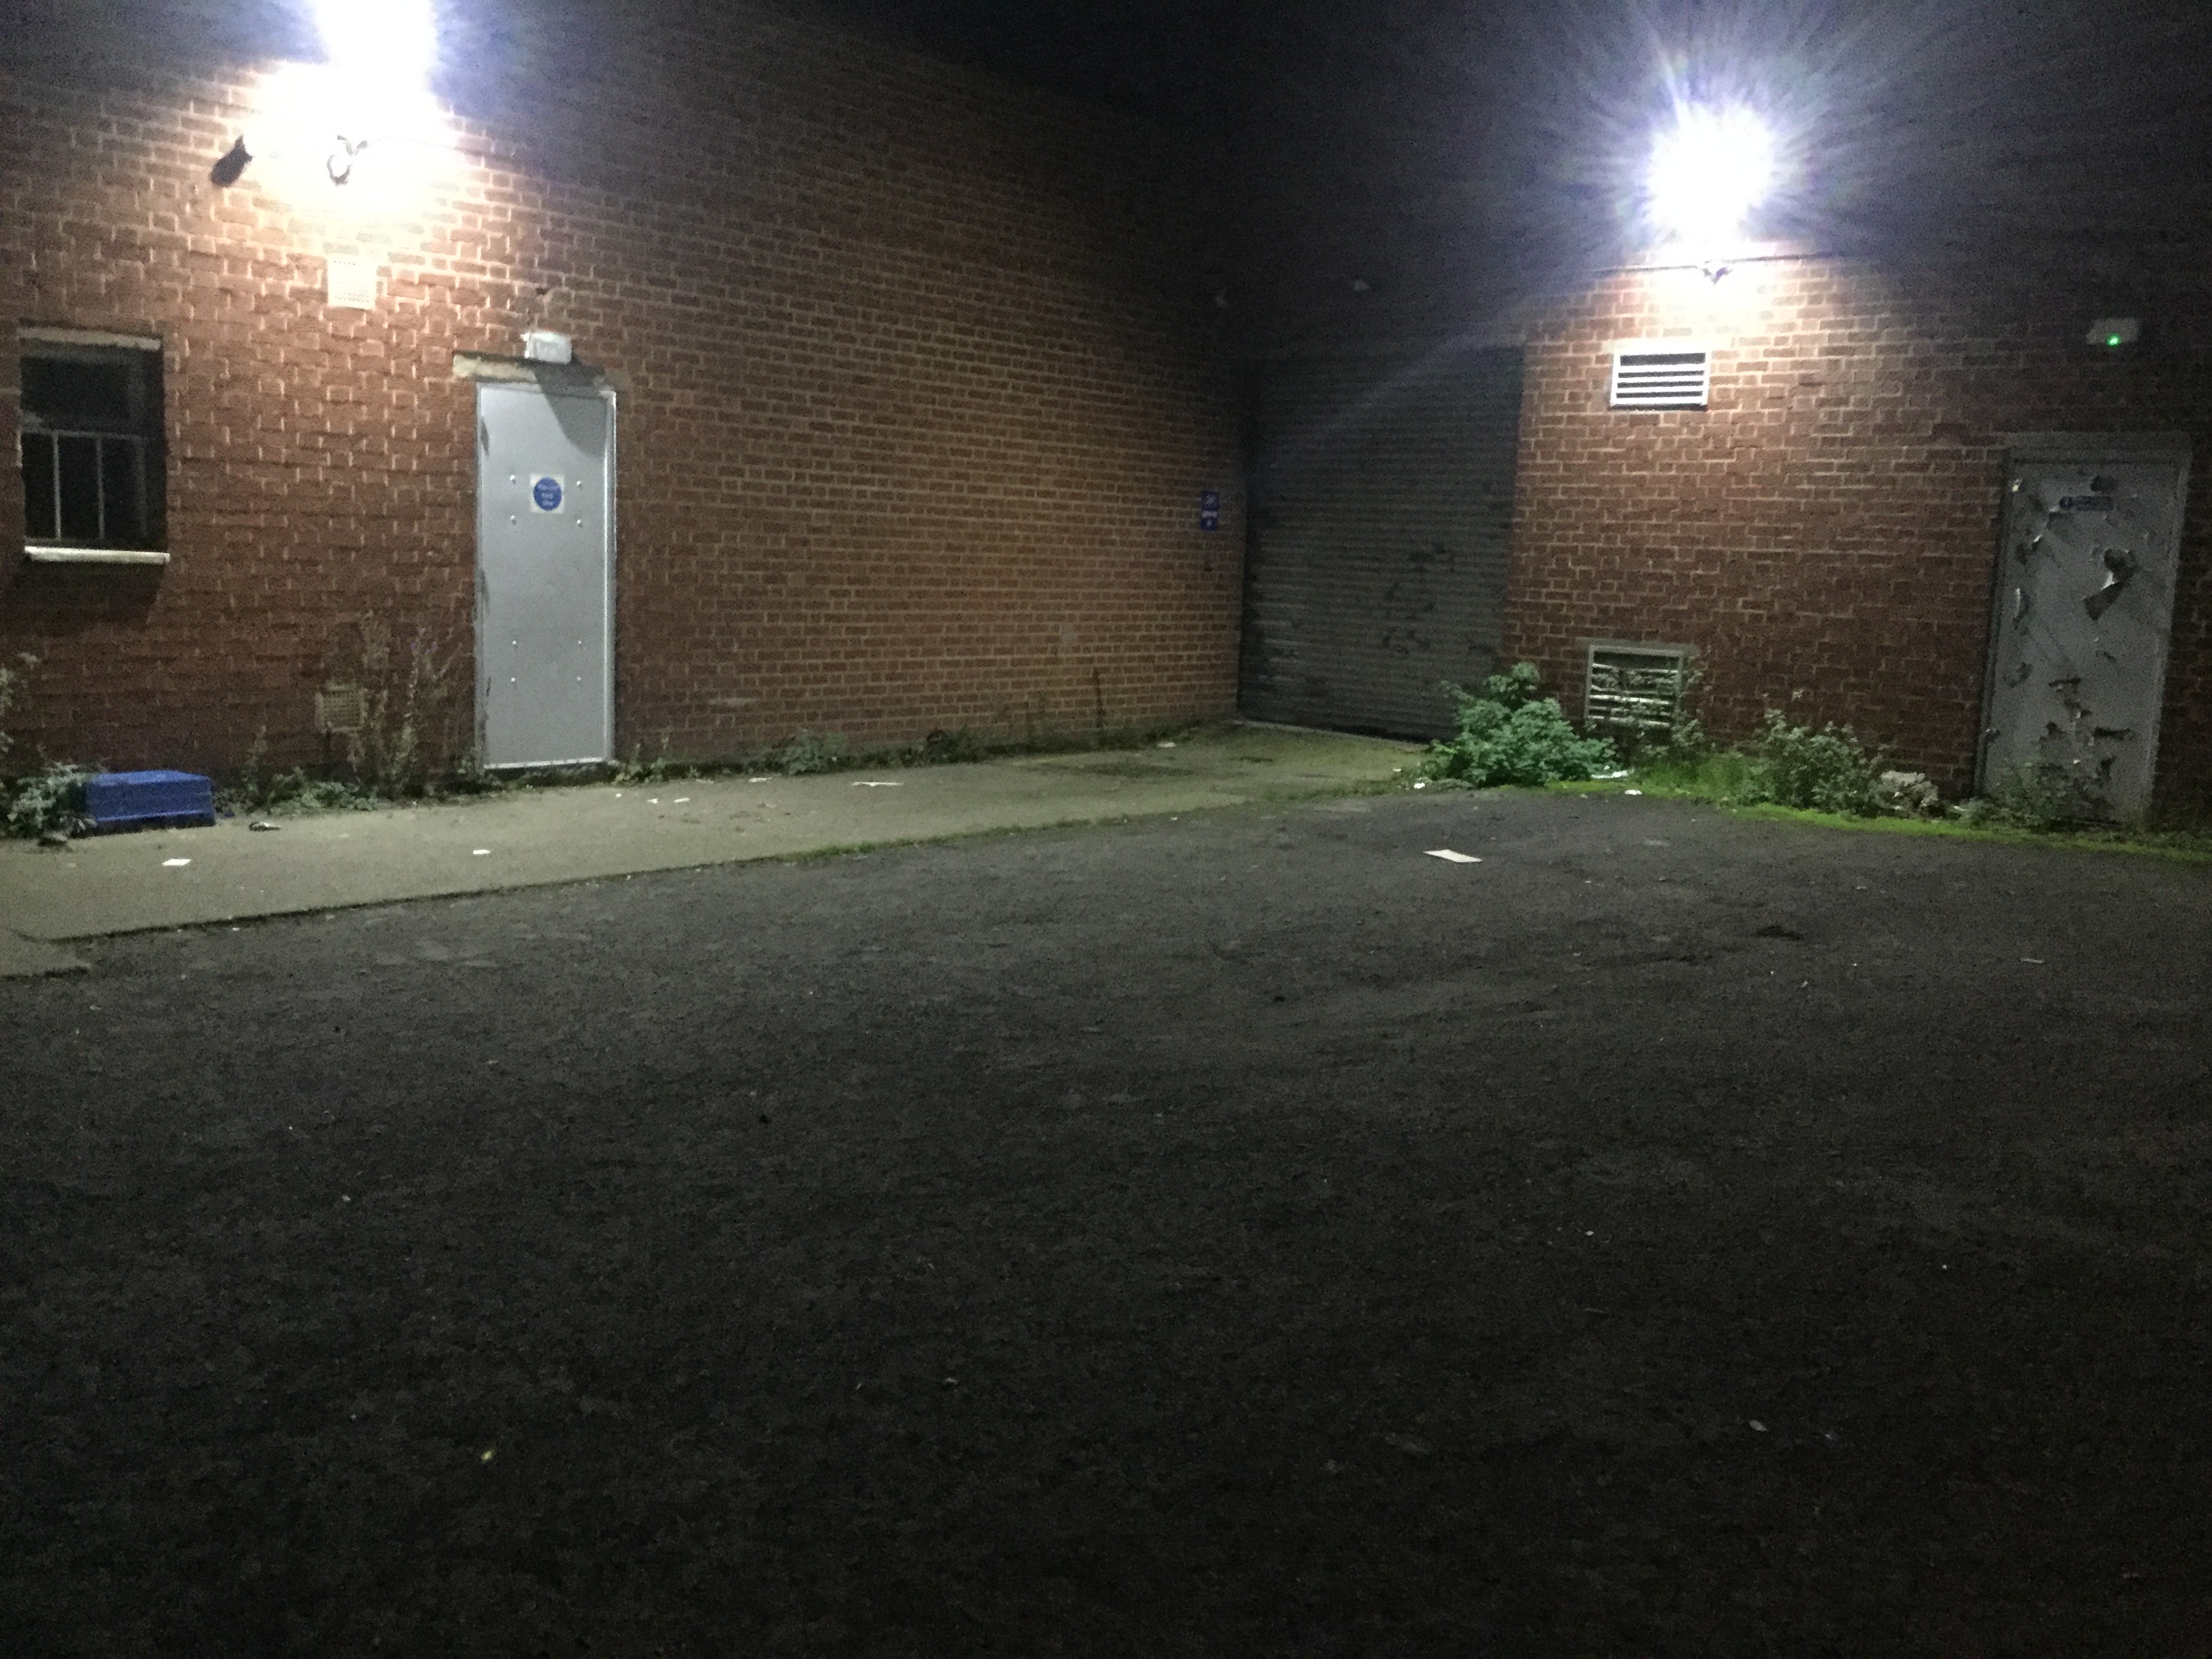
Scene 2 - Protagonist Walking Home
Will Cross - Same costume
Location - Park Avenue Beverley
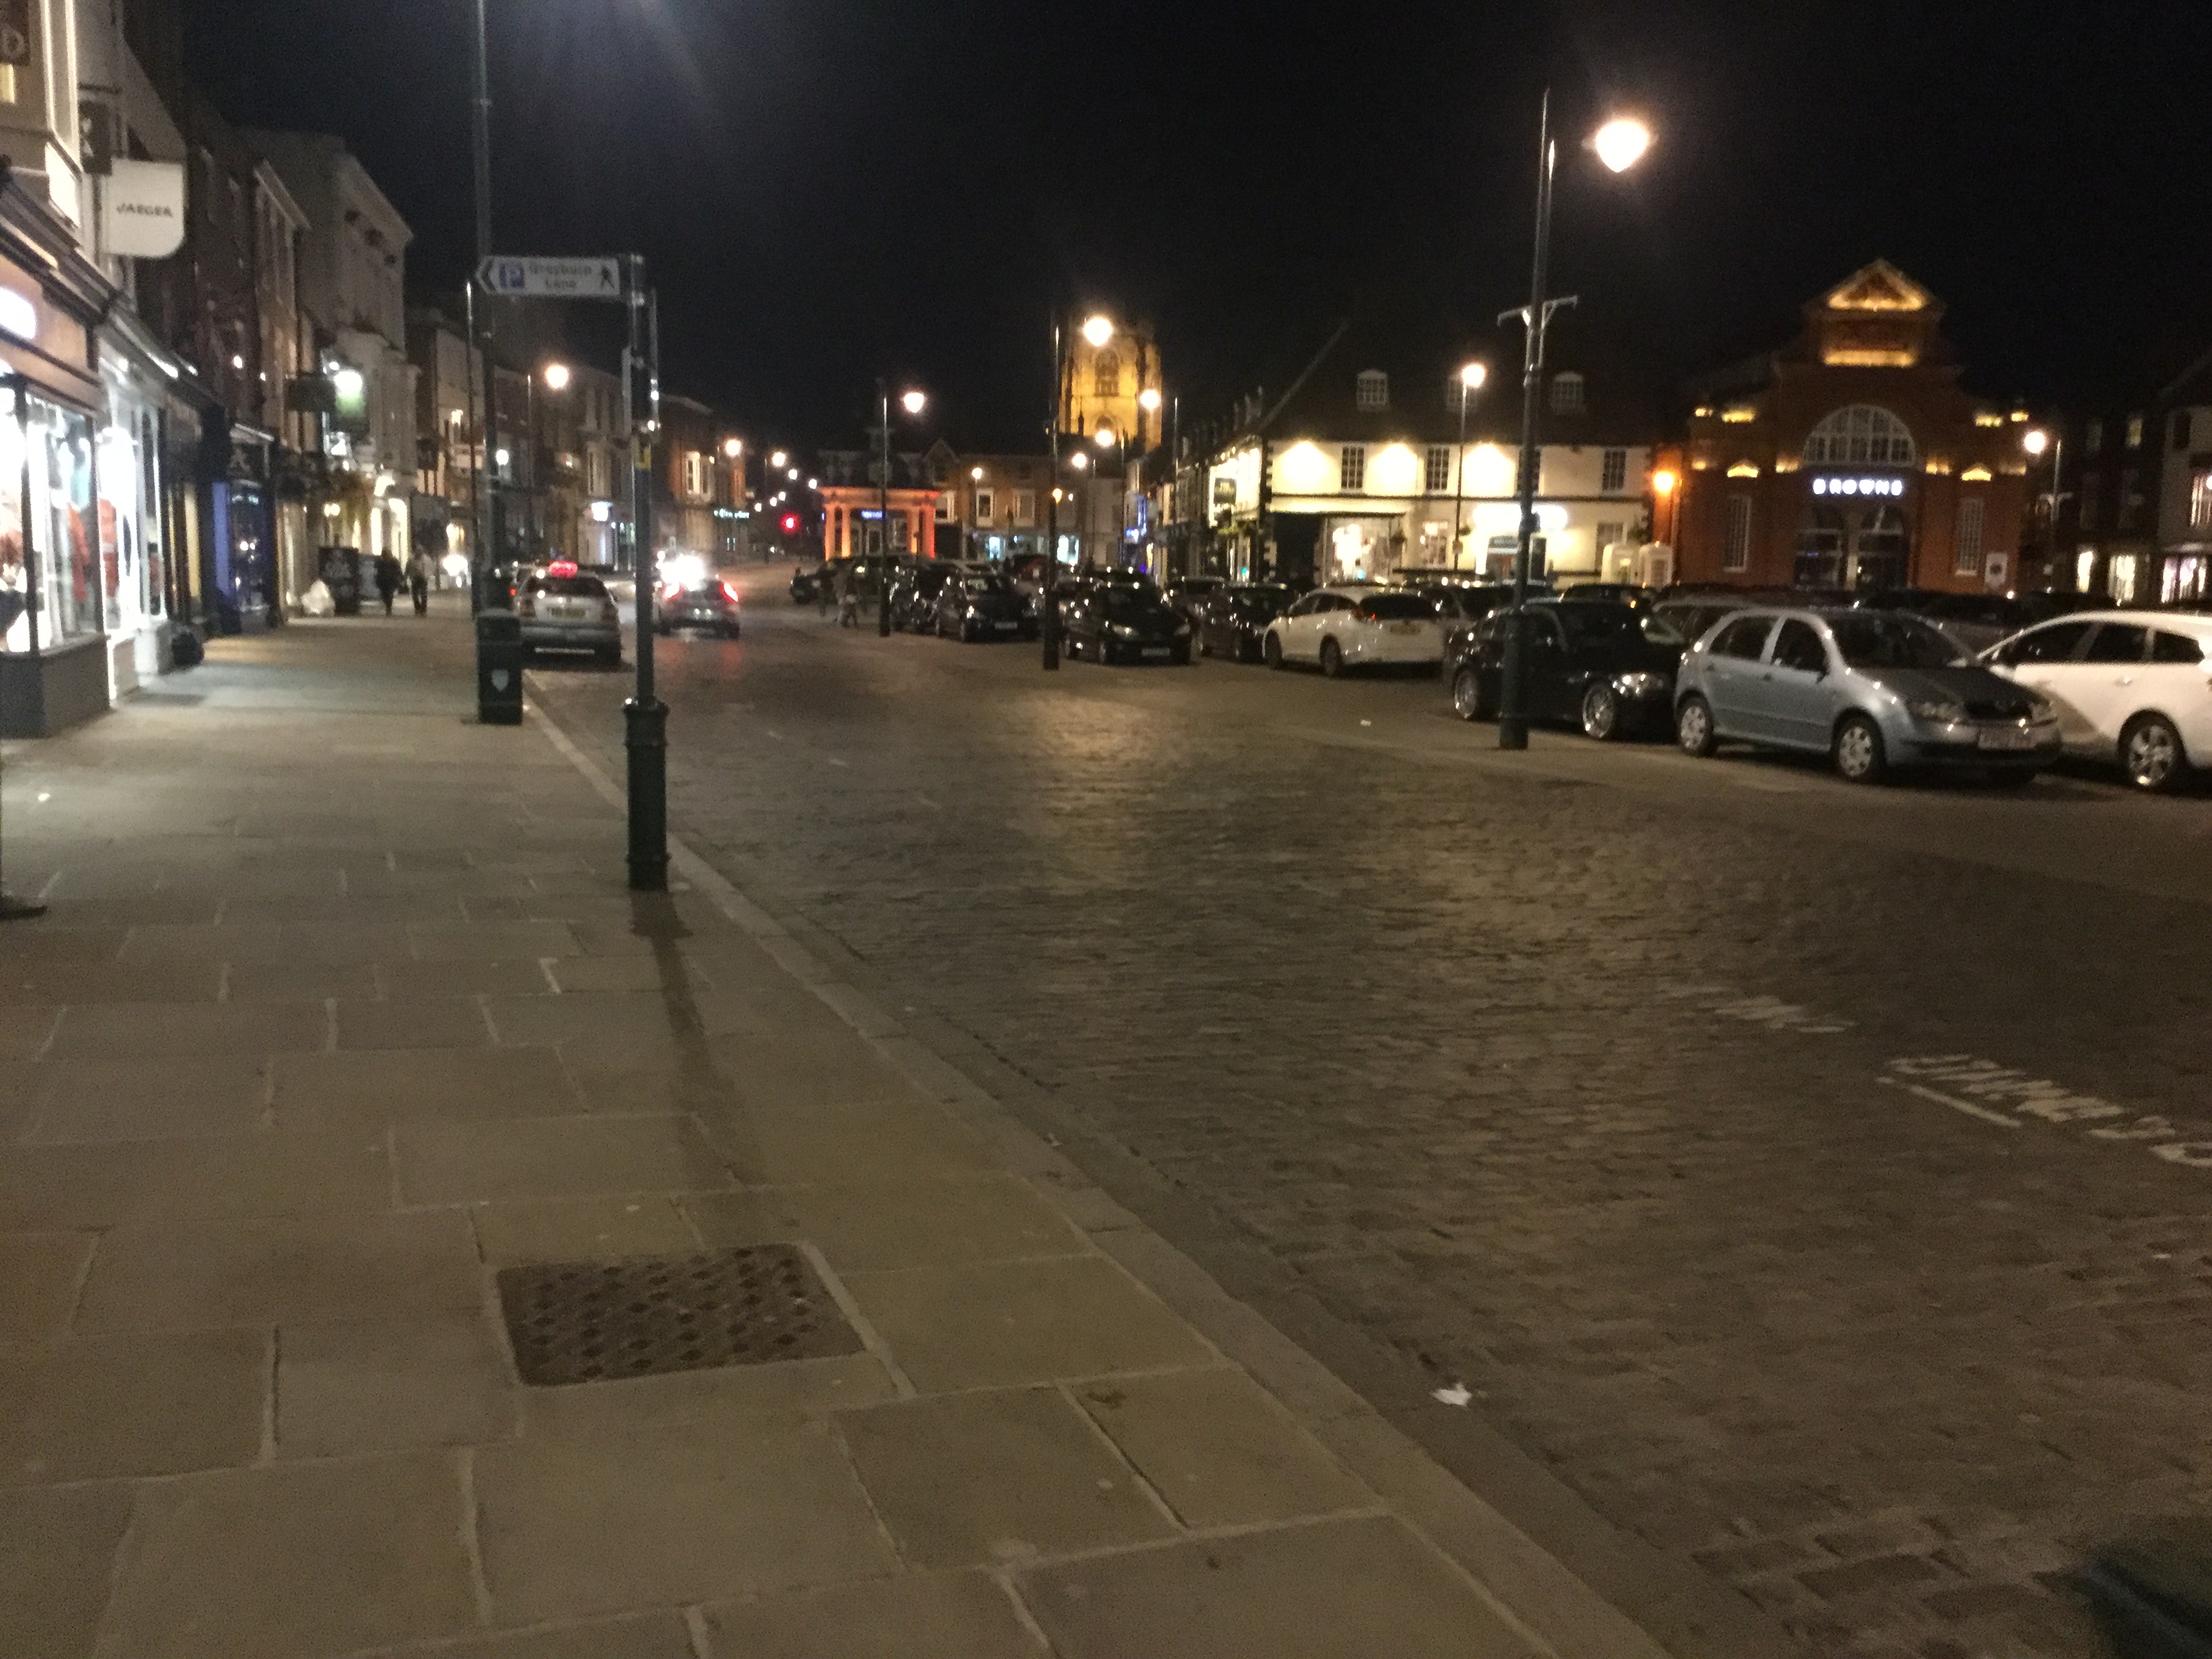
Scene 3 - Protagonist teleports to town centre
Will Cross - Same Clothing
Extras - Casual Clothing, Jeans, Jackets
Location - Beverley Town
Props - Beer Bottles
Scene 4 - Protagonist Wakes Up in Bedroom
Will Cross - Same Clothing
Sophie Ambros - Revealing, provocative clothing, a dress,
Charlie Moore - All black, lower class stereotype clothing, hoodie.
Javen Thompson and Tim Parker - All black, jeans, jackets, lower class clothing (they act as extras in this scene)
Location - My bedroom or Friends Bedroom
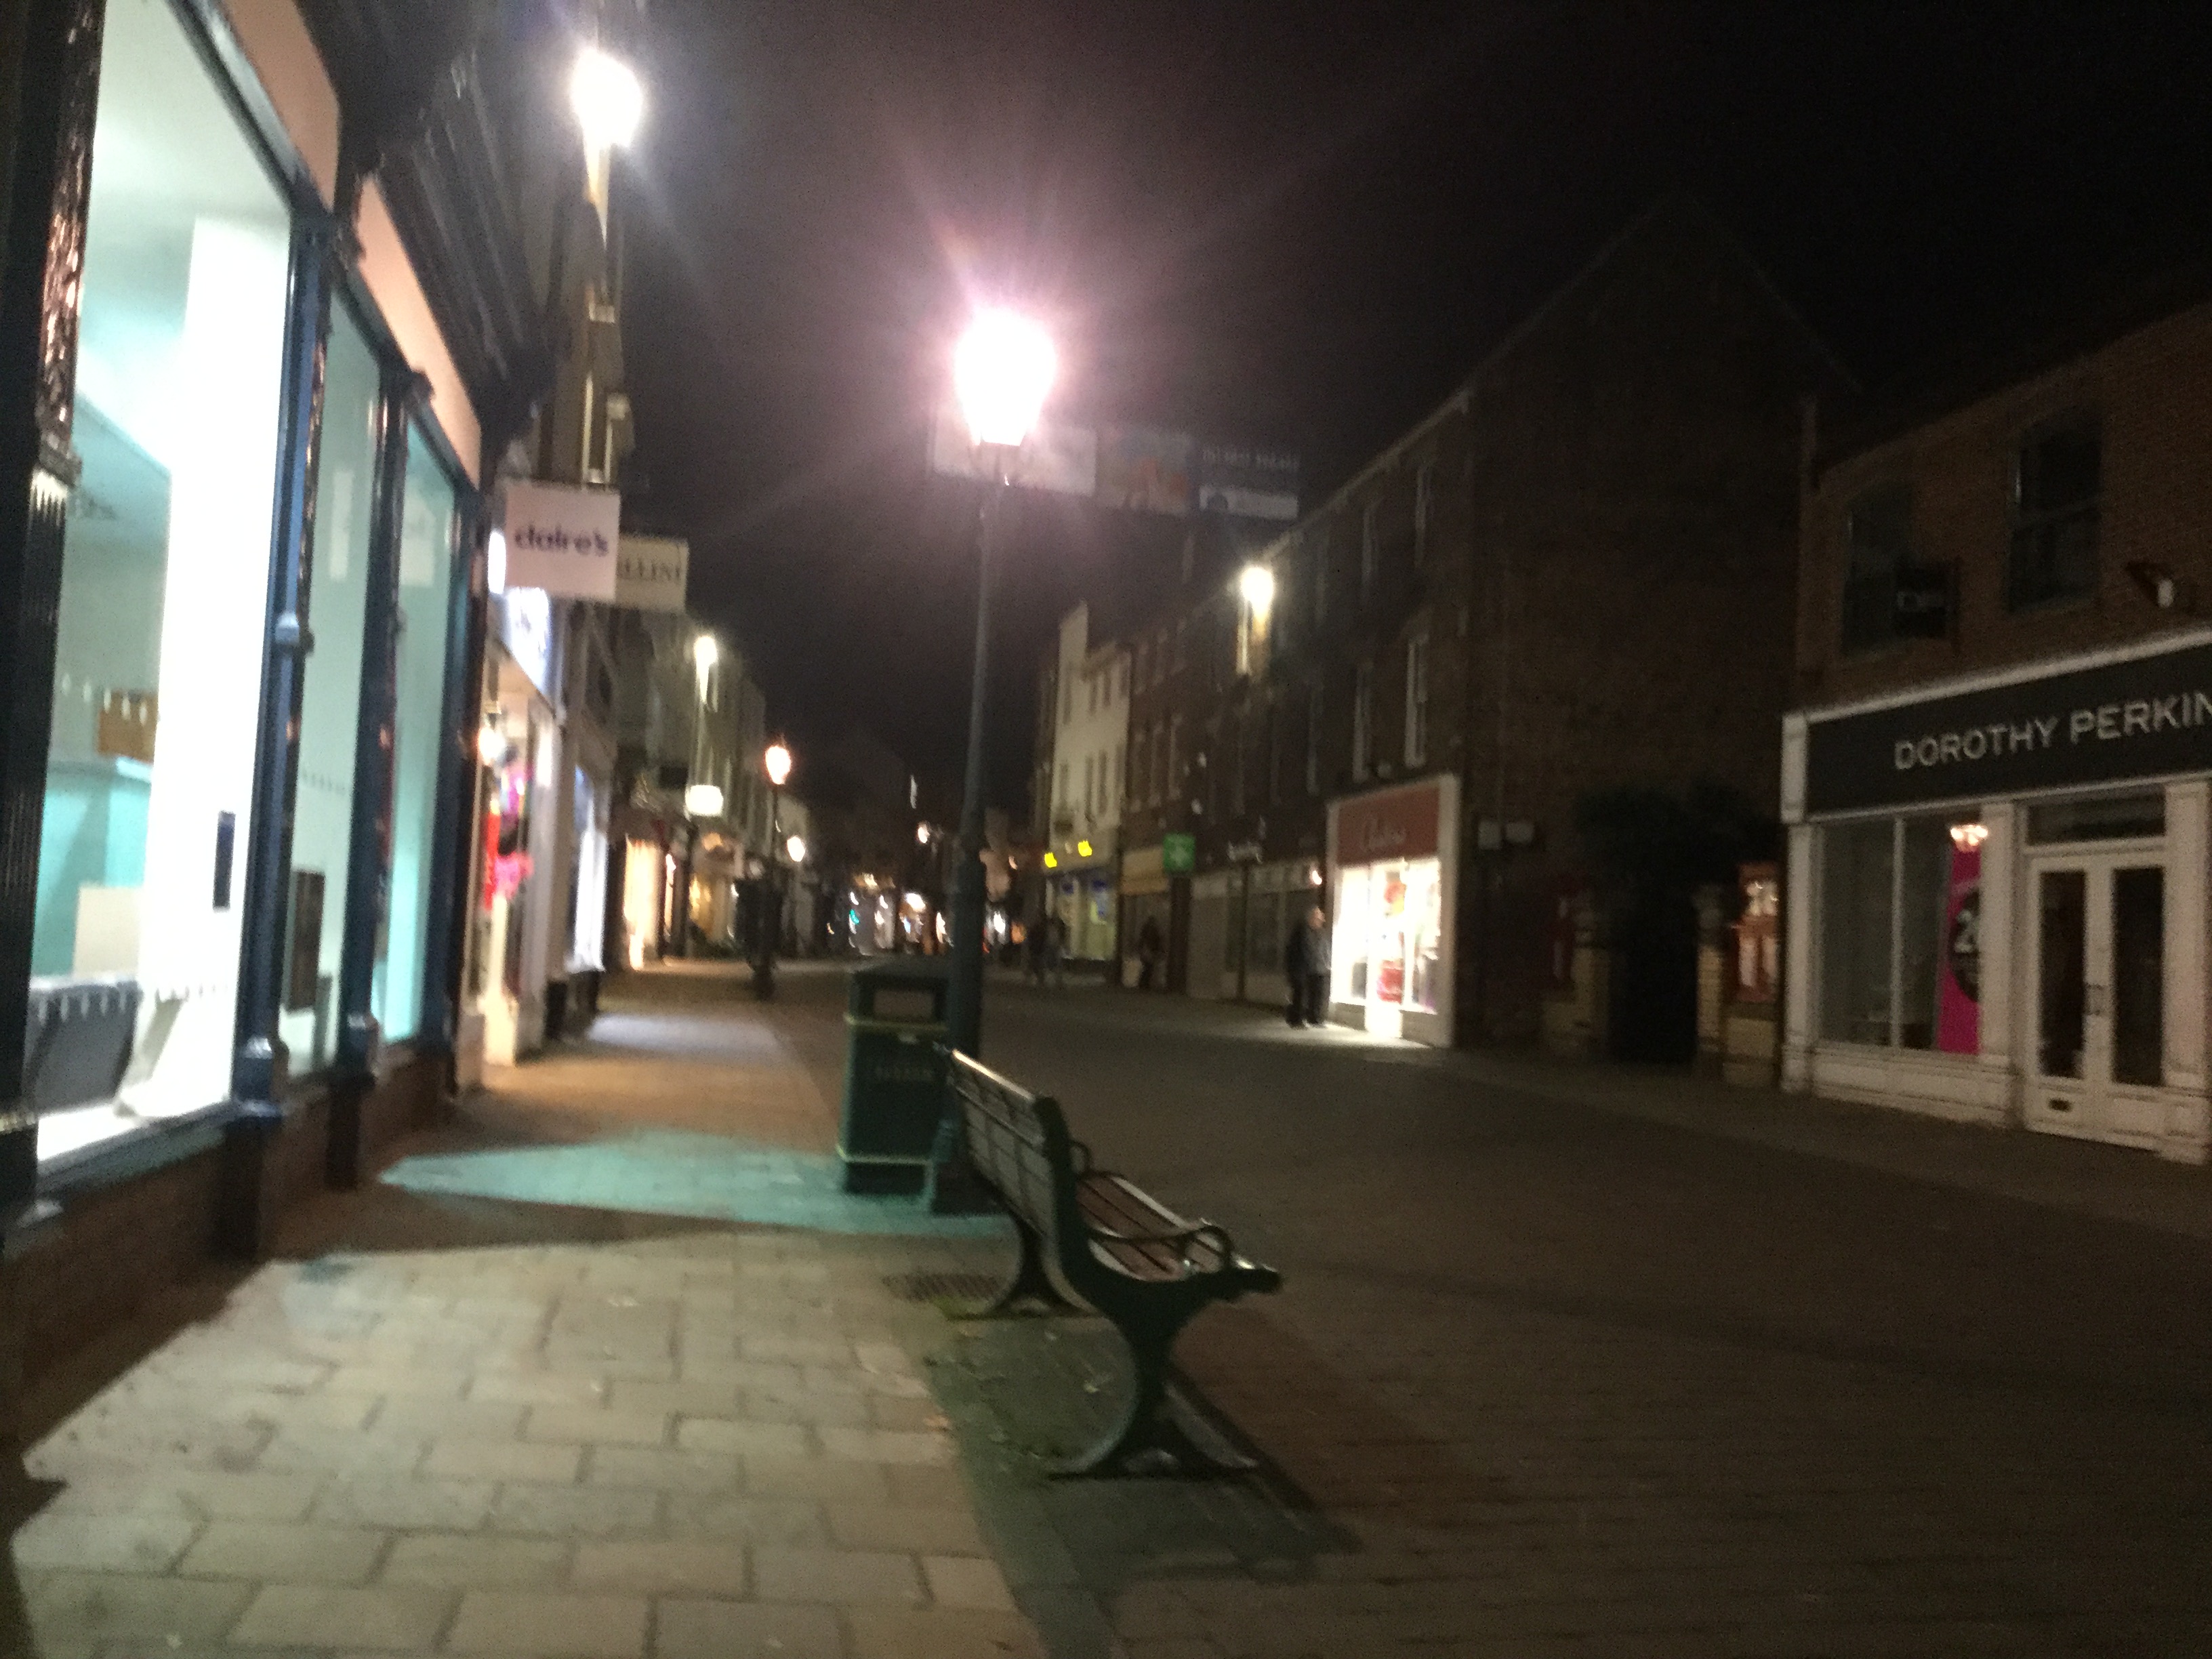
Scene 5 - Protagonist walking down a street, gets chased down an alley
Will Cross - Same Clothing
Javen and Tim Parker - Same clothing as previous scene
Location - Flemmingate Development and side alley - Beverley
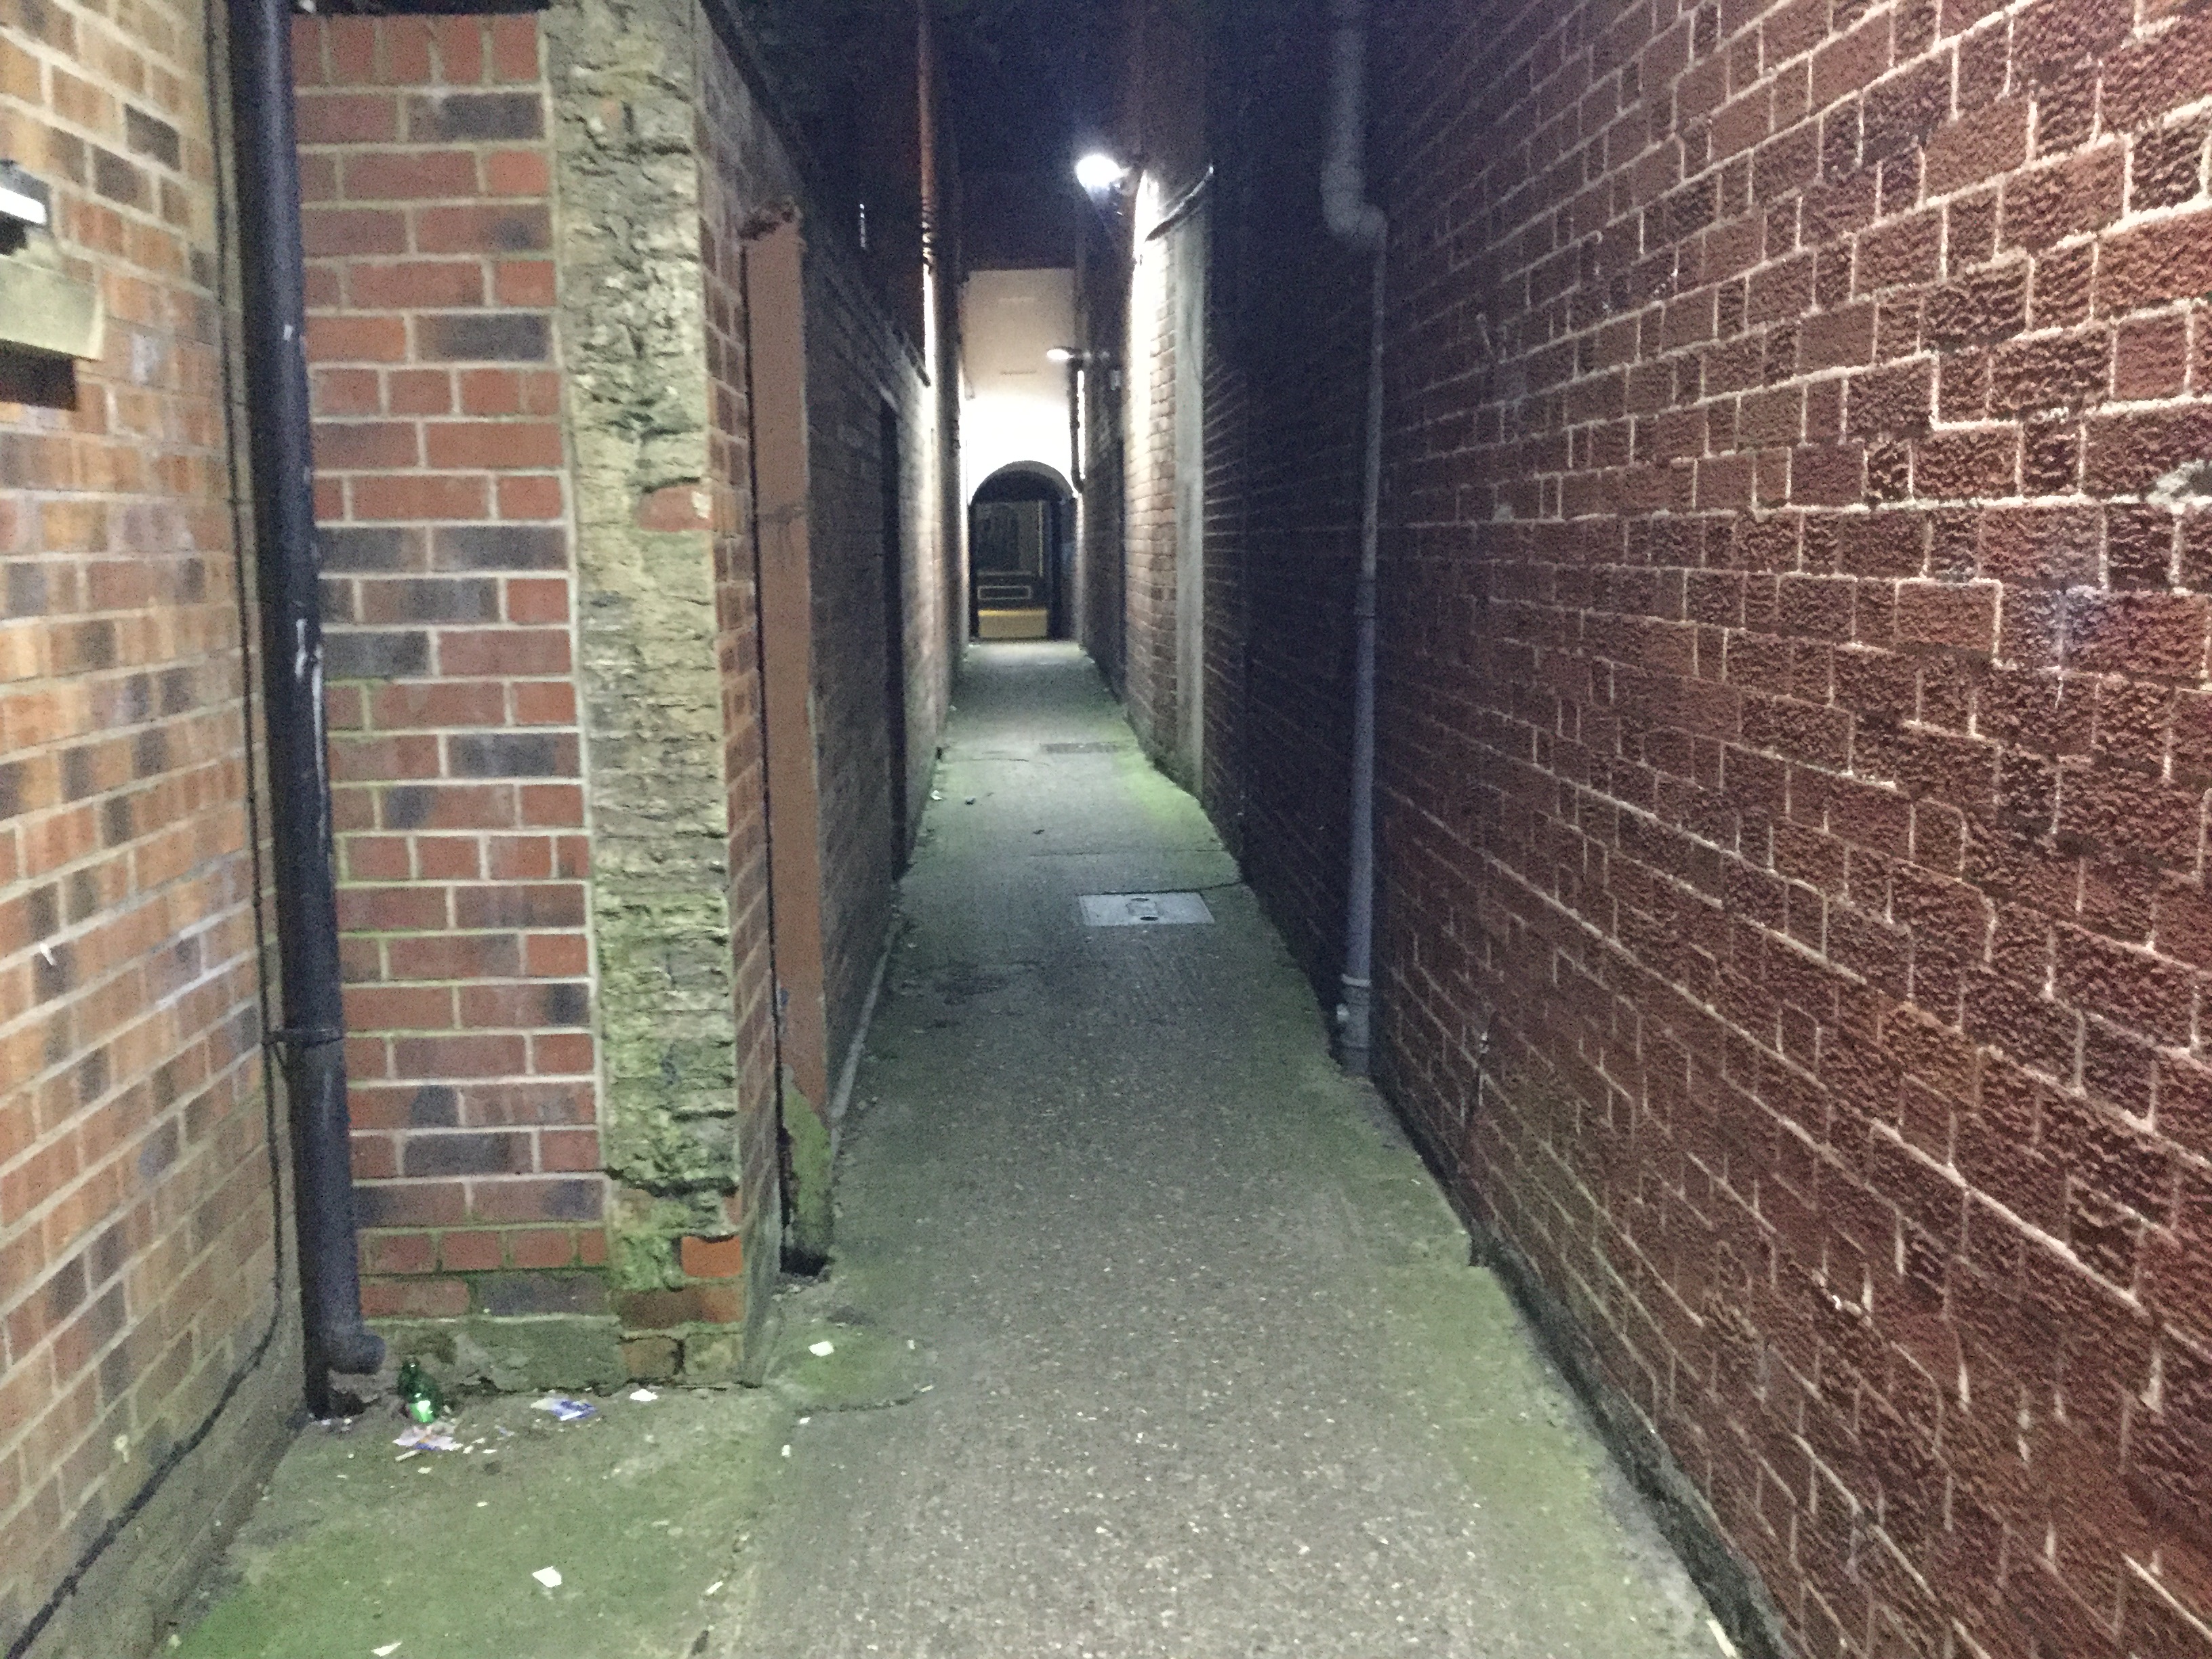
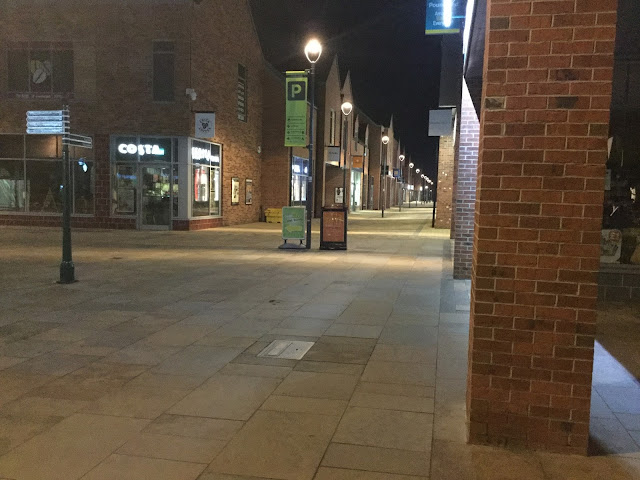

(A good location as it is usually empty)
Scene 7 - Torture Scene
Will Cross - Same Clothing, bloody, bruised face (make up)
Charlie Moore - Same clothing, with cricket or baseball bat
Javen Thompson and Tim Parker - Stood in the background in same clothing.
Props - Rope, Chair, Cricket or Baseball Bat.
Location - My garage.
Scene 8 - Final animated fight
Will Cross - Same Clothing
Charlie Moore - doesn't matter for clothing as he is animated.
Location - Ran Down Car Park Beverley
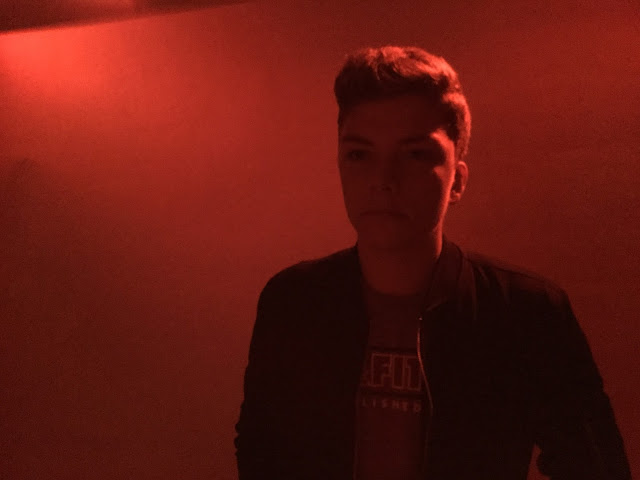
Here are some lighting tests to show how the scene should roughly look.
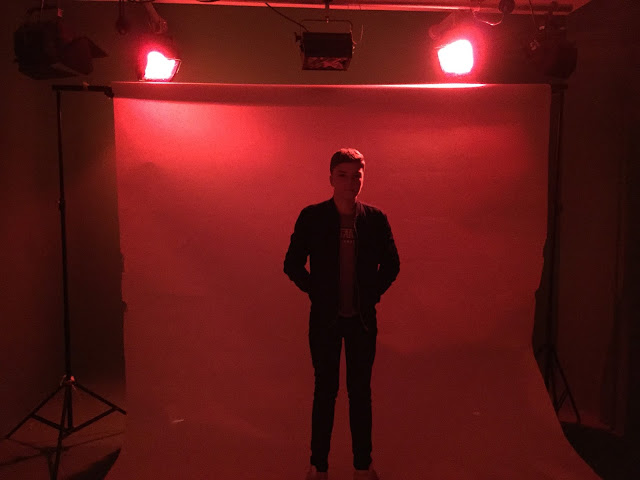
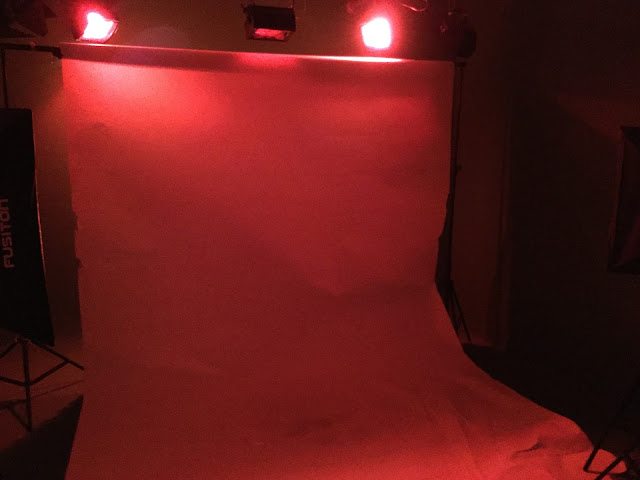
William Cross - Protagonist
Charlie Moore - Animated Antagonist, Gang leader
Tim Parker - Thug 1
Javen Thompson - Thug 2
Sophie Ambros - Girl protagonist sleeps with
Will Marshall - Singer of Band
Extras will also be used that will include the actors above as well as others. There will roughly be 4 extras.
Narrative
Mise-En-Scene
Scene 1 - Protagonist Waking Up
Costume
Will Cross - Black Denim Jacket, Black Skinny Jeans, Black Vans, White T-shirt.
Charlie Moore - Dressed all black.
Location - Car Park - Beverley
Scene 2 - Protagonist Walking Home
Will Cross - Same costume
Location - Park Avenue Beverley
Scene 3 - Protagonist teleports to town centre
Will Cross - Same Clothing
Extras - Casual Clothing, Jeans, Jackets
Location - Beverley Town
Props - Beer Bottles
Scene 4 - Protagonist Wakes Up in Bedroom
Will Cross - Same Clothing
Sophie Ambros - Revealing, provocative clothing, a dress,
Charlie Moore - All black, lower class stereotype clothing, hoodie.
Javen Thompson and Tim Parker - All black, jeans, jackets, lower class clothing (they act as extras in this scene)
Location - My bedroom or Friends Bedroom
Scene 5 - Protagonist walking down a street, gets chased down an alley
Will Cross - Same Clothing
Javen and Tim Parker - Same clothing as previous scene
Location - Flemmingate Development and side alley - Beverley


Scene 7 - Torture Scene
Will Cross - Same Clothing, bloody, bruised face (make up)
Charlie Moore - Same clothing, with cricket or baseball bat
Javen Thompson and Tim Parker - Stood in the background in same clothing.
Props - Rope, Chair, Cricket or Baseball Bat.
Location - My garage.
Scene 8 - Final animated fight
Will Cross - Same Clothing
Charlie Moore - doesn't matter for clothing as he is animated.
Location - Ran Down Car Park Beverley
Performance
Location - Green Room
Props - Red Lighting, Guitar, Microphone with stand, drumset
Costume - Casual / Retro Clothing, Vans, Black Jeans, Souvenir Jacket and white T-shirt
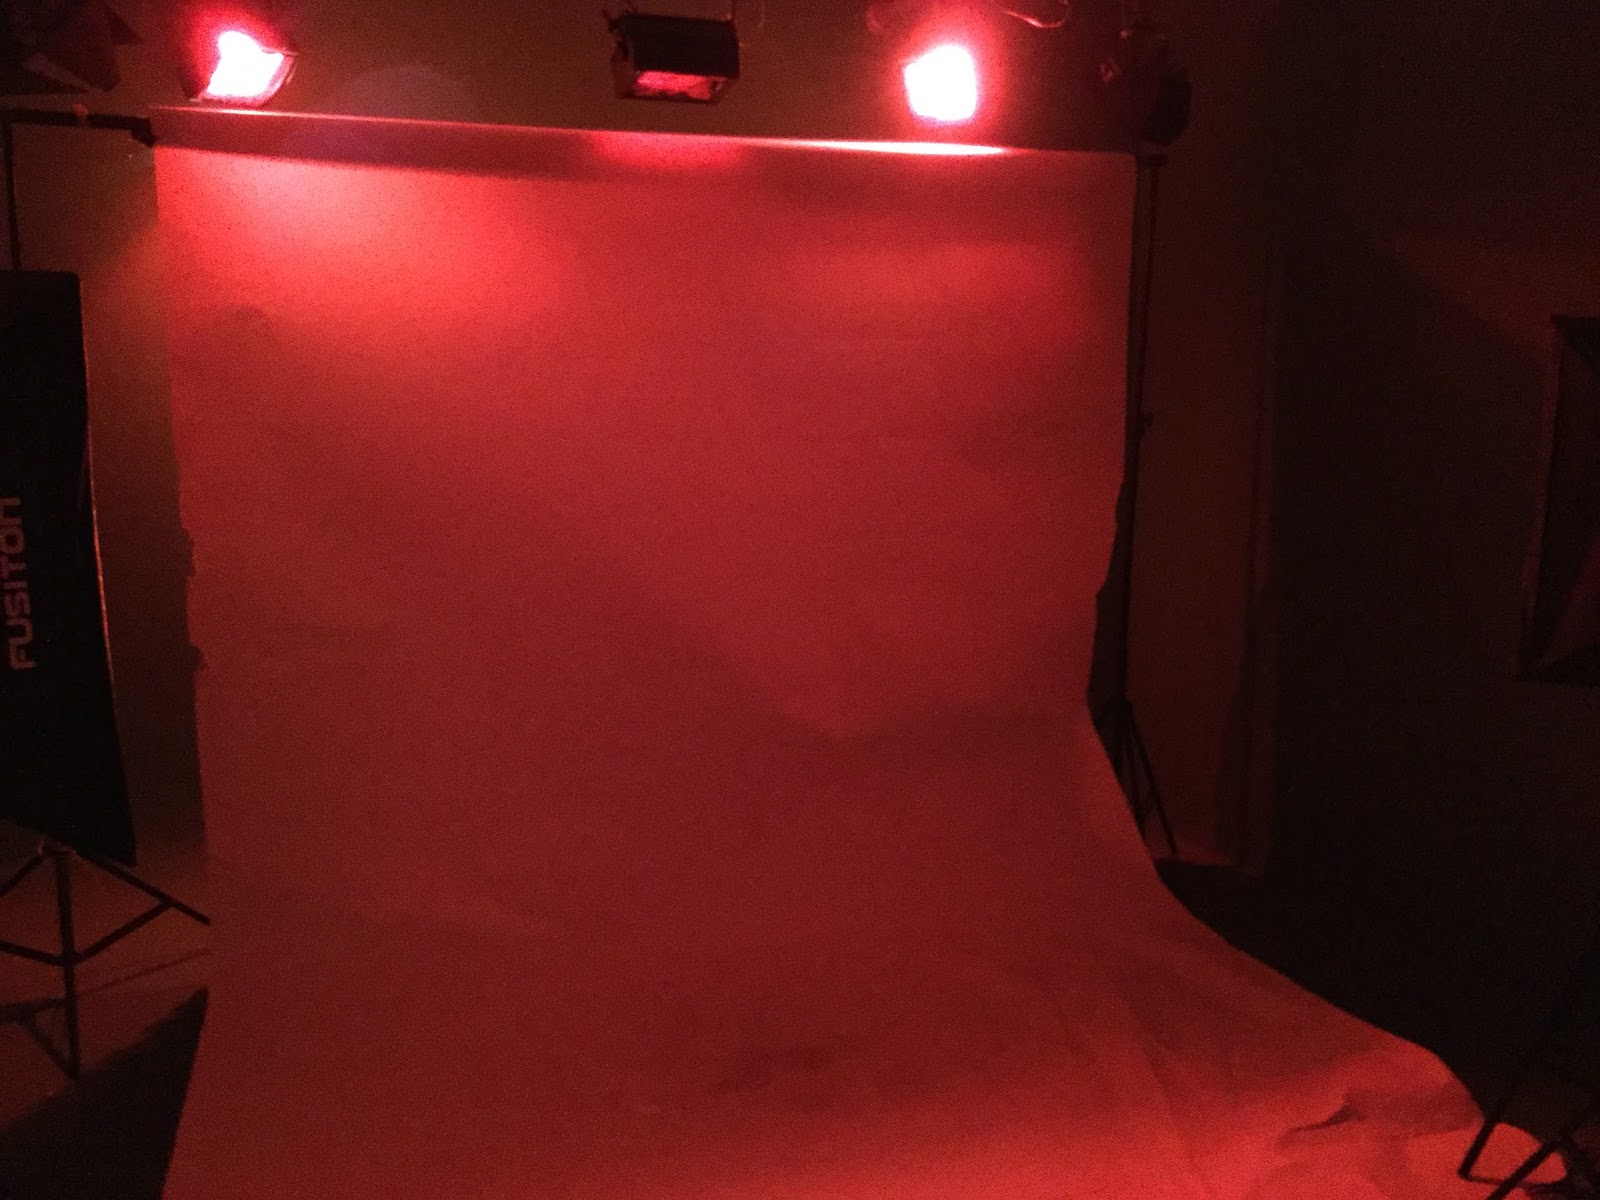
Here are some lighting tests to show how the scene should roughly look.


Thursday, 17 November 2016
Drawing Process
This is how to start actually animating the frames you have exported, firstly to make it an easier and quicker process, you will need a graphics tablet. I use a Wacom Intuos Pro (Medium)


This allows me to draw the frames like I would on a piece of paper. Whenever the stylus of the tablet touches the surface, a mark will appear on Photoshop (Software we will be using to draw my frames)
Next I will show you how to set up Photoshop in order to be ready to draw your frames.
Firstly, you need to go to File, Open, then select your first frame:


Once you have opened your first frame, you need to check its size / resolution by going to Image, Image Size.


The image size depends on how pixelated of a line you will have when you draw, for example if I draw at the current size of 1920 by 1080, my line appears like this:

As you can see, the quality of line is very bad, you have to increase the image resolution, preferably not too big as you don't want a huge file size, I am going to put the resolution at 600, this will change the size of the image also.
Next you want to duplicate your layer with the picture of the frame on.

Then fill in the original frame layer in whatever background colour you want, in my case it is black. You do this by going to Edit, Fill.

Then create a layer above the Frame Copy, this will be the layer you are going to draw on.

By drawing on a separate layer, you aren't damaging the original picture. It is like using tracing paper.
You then start to trace round the picture on the Drawing layer.

Re-Edit and Exporting the frames
I have decided to re-edit my fight scene as the cuts between the actions were not perfect, making the film jump. I decided to re-edit the footage on Premiere Pro as when you are putting two pieces of footage together, it shows you the last frame of one piece of footage, and the starting frame of the other, so you can cut it together perfectly.

I also colour corrected the footage and made it brighter so it will be easier to draw around in the animating process.


The next step was exporting the frames of my video so they were all seperate JPEG files to draw around. This involves taking the footage back into an editing software, seen as I am doing most of my drawing at home I am putting it into Sony Vegas Pro:

By scrolling, it will allow me to zoom into the clip and see every different frame seperatley.

Where the different timings are, is where the seperate frames finish.

Click on the first frame, then click the circled icon to Snapshot the frame in the same resolution.
 Then copy and paste it into Paint, and save it as a JPEG.
An alternate method I have found is if you click the save icon next to the circled icon:

This automatically saves the file to any folder or location you choose.

I also colour corrected the footage and made it brighter so it will be easier to draw around in the animating process.

(Original)

Colour Corrected - I have increased the brightness aswell as the contrast as the video started to become pix-elated and bad quality. By doing this, I also feel like I have got rid of a grey look the original clip had.
The next step was exporting the frames of my video so they were all seperate JPEG files to draw around. This involves taking the footage back into an editing software, seen as I am doing most of my drawing at home I am putting it into Sony Vegas Pro:

By scrolling, it will allow me to zoom into the clip and see every different frame seperatley.

Where the different timings are, is where the seperate frames finish.

Click on the first frame, then click the circled icon to Snapshot the frame in the same resolution.

An alternate method I have found is if you click the save icon next to the circled icon:

This automatically saves the file to any folder or location you choose.
Subscribe to:
Posts (Atom)