Since I posted my music video, I have received various comments from other Youtube accounts on it:
All the comments so far have been very positive, the latest comment actually took the time to analyse it and say what they liked about it. To gain more feedback I will create an audience viewing and then film them giving feedback on the video.
This is my final edit, nothing new has been added to the editing sequence however to achieve that professional music video look, I decided to colour correct my footage and add letterbox bars at the top and bottom of the video. Colour correction and letterbox effects are a convention in music videos as producers want every shot to look artistic and the actors and artists to look good, advertising them well.
Colour Correction
For my daytime shots here is the colour correction settings I used:
Before Colour Correction:
After Colour Correction:
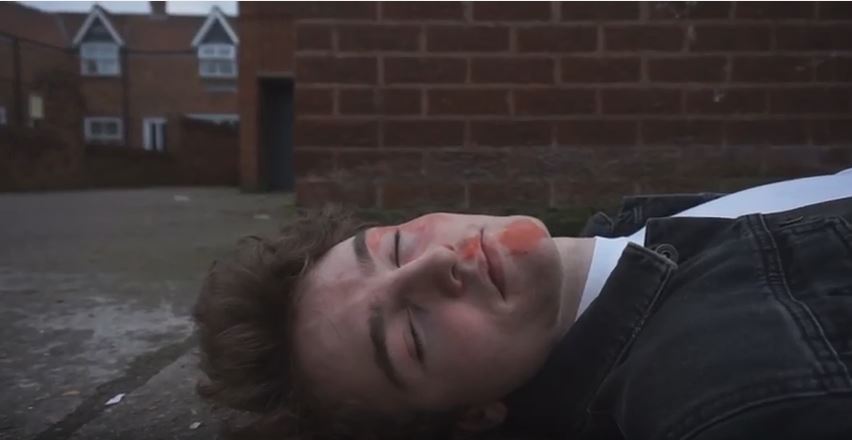
As you can see I have slightly altered the tone of the footage, creating a more dark, dank mood. I feel this fits the scene as my protagonist is waking up to a dead body.
Before Colour Correction:
After Colour Correction:
I also feel the letter box effect adds a more focused view onto the music video, it stops alot of empty space being shown around the characters.
Brightness and Contrast
For my night time scene I had to alter the brightness, here is the brightness adjustments for my town scenes:
Before Brightness:
After Bright:
This is as far as I could brighten the video footage without the footage looking bad quality and having a grey tint over it.
Before Brightness:
After Brightness:
I feel it has been more effective on the chase scene as the figures behind the protagonist are now more defined and obvious.
Brightness and Contrast for the Fight Scene
My fight scene occurred in a much darker location, therefore I added more intense brightness to the footage than in the town scenes:
Before Brightness:
After Brightness:
I feel this has also improved the defining of characters as the edges of the footage before seemed to fade.
I decided to print off my Digipak so i could create a focus group around it, therefore I will know what people think of it and if the design is of a professional quality:
(Digipak is far Right)
Focus Group
Overall my audience seemed to like my design due to its illustrative style and its continuous house style that I have shown all the way through my designs.
However they feel that the band name is very hard to make out as it is merges with the screaming mans face on the front cover. They also suggested adding an album name just so they are more defined and obvious.
Another criticism is the editing of the artist shot, as it looks cheesy due to the specific filter, one of my audience members feel it would look alot better without the filter.
Draft 4 is my second to last draft as I have finished all the filming, animation and editing. All that needs to be added is the colour correction and letterbox's to make it look more professional and to have that movie aesthetic. I will also brighten up parts which appear very dark.
Re-Filming Fight Scene
As precautions to the footage becoming too dark, I turned my camera ISO from 650 to 850 as this will improve the brightness without harming the quality too much. I also filmed very close to the lights, however some areas still appear very dark which I will edit in Premiere Pro.
Shot 1:
Sketched Panel:
Add caption
This shot I need to lighten up through Premiere Pro, however you can still understand what is happening as the shot isn't very long and leads up to a lighter shot.
Shot 2:
Sketched Panel:
Here I have swapped two shots around, this second shot is meant to be a close up of the protagonist staring in anger at the animated figure. However that is not the shot that comes next. This over the shoulder shot i really like as it is well lit and tracks the protagonist as he slowly struggles to his feet.
Shot 3:
I changed this shot slightly from a close up to a medium shot, however I feel the protagonists emotions and wounds are still focused upon.
Shot 4: As planned, the next shot is a cut back to the over the shoulder shot.
Shot 5:
Sketched Panel:
I feel the zoom in this shot is very shaky however it still works as an effective transition to the animation. This shot also needs to be brightened however I feel the darkness also adds a sinister look to my protagonist.
After the Fight
The fight now ends after the protagonists jump kick which makes the animated figure dissolve away. The next part of the fight was meant to be both actors firing energy at each other in a cliche, cartoony way:
However I do not have time to finish the drawing of the frames so I created an alternate ending.
Shot 1:
To build up the dramatic outro of the song, I included a performance shot of the artist strumming the guitar quite fast and violently.
These next two shots are inspired from the ending of Take on Me by Ah-Ha, one of my main influences for the narrative of my music video.
This is where the protagonist who is essentially a comic book character, is caught between the real world and comic book world. The scene shows the boy violently struggling in pain.
I feel this links greatly to my music video narrative as my protagonist is also seen caught in an animated world as well as a real world. I think it links to the beginning of the music video well, as it shows he has passed out. Perhaps implying that it was all a dream.
Shot 1:
Shot 2:
I included this second shot as I want to relate his screaming face to the album cover when animating it. When animating I wasn't able to go into much detail however I still think it is effective in linking to the design.
Animation Transitions
In this draft I added the animated distortion that transitions the real life footage into the animated parts:
This is the third draft of my music video, the difference between this draft and the previous is that I have now produced more animation as well as filmed the bedroom, town and beginning scenes. I have also included my performance clips throughout the video to keep the artist / band recognition consistent.
(Screen Shot of Premiere Pro)
The Beginning Scene
Th beginning scene really went to plan as I followed most of my story board panels, here is a shot for shot remake comparing my sketch to the actual footage:
Shot 1:
Sketched Panel:
As you can see I really planned this shot as I knew my location had a wall in it which I could climb up to take the high angle shot. To make this positioning fit, I made my actors in the previously filmed scenes, fight near by it.
Shot 2:
Panel:
As you can see, my protagonist isn't facing upwards however I decided I wanted him to slowly come to from his unconsciousness self, this would appear more realistic and believable.
Missing sketched panel:
I have learnt that creating an animatic isn't as structured as it may appear due to some shots that I thought could fit into the duration, do not fit in the scene. However I feel this shot isn't key in showing the narrative of the story and was really just a chance to show off some SFX make-up, up close.
Shot 3:
Sketched Panel:
This particular shot is the one which went on for too long, causing me to skip the close up of the knuckles, however I feel the protagonist should have taken his time to get up as it makes the environment more believable. As you can see I had already planned to shoot a depth of field shot as they are commonly used as artistic shots in music videos.
Shot 4:
Sketched Panel:
I also planned on getting this over the shoulder shot which I felt was important, as over the shoulder shots are conventional cinematography when trying to communicate a narrative when editing in continuity.
Shot 5:
Sketched Panel:
I included this panel to show the protagonists shocked emotions, I feel the way he leans on the wall really expresses his injury's as well as his distressed nature.
Shot 6:
Sketched Panel:
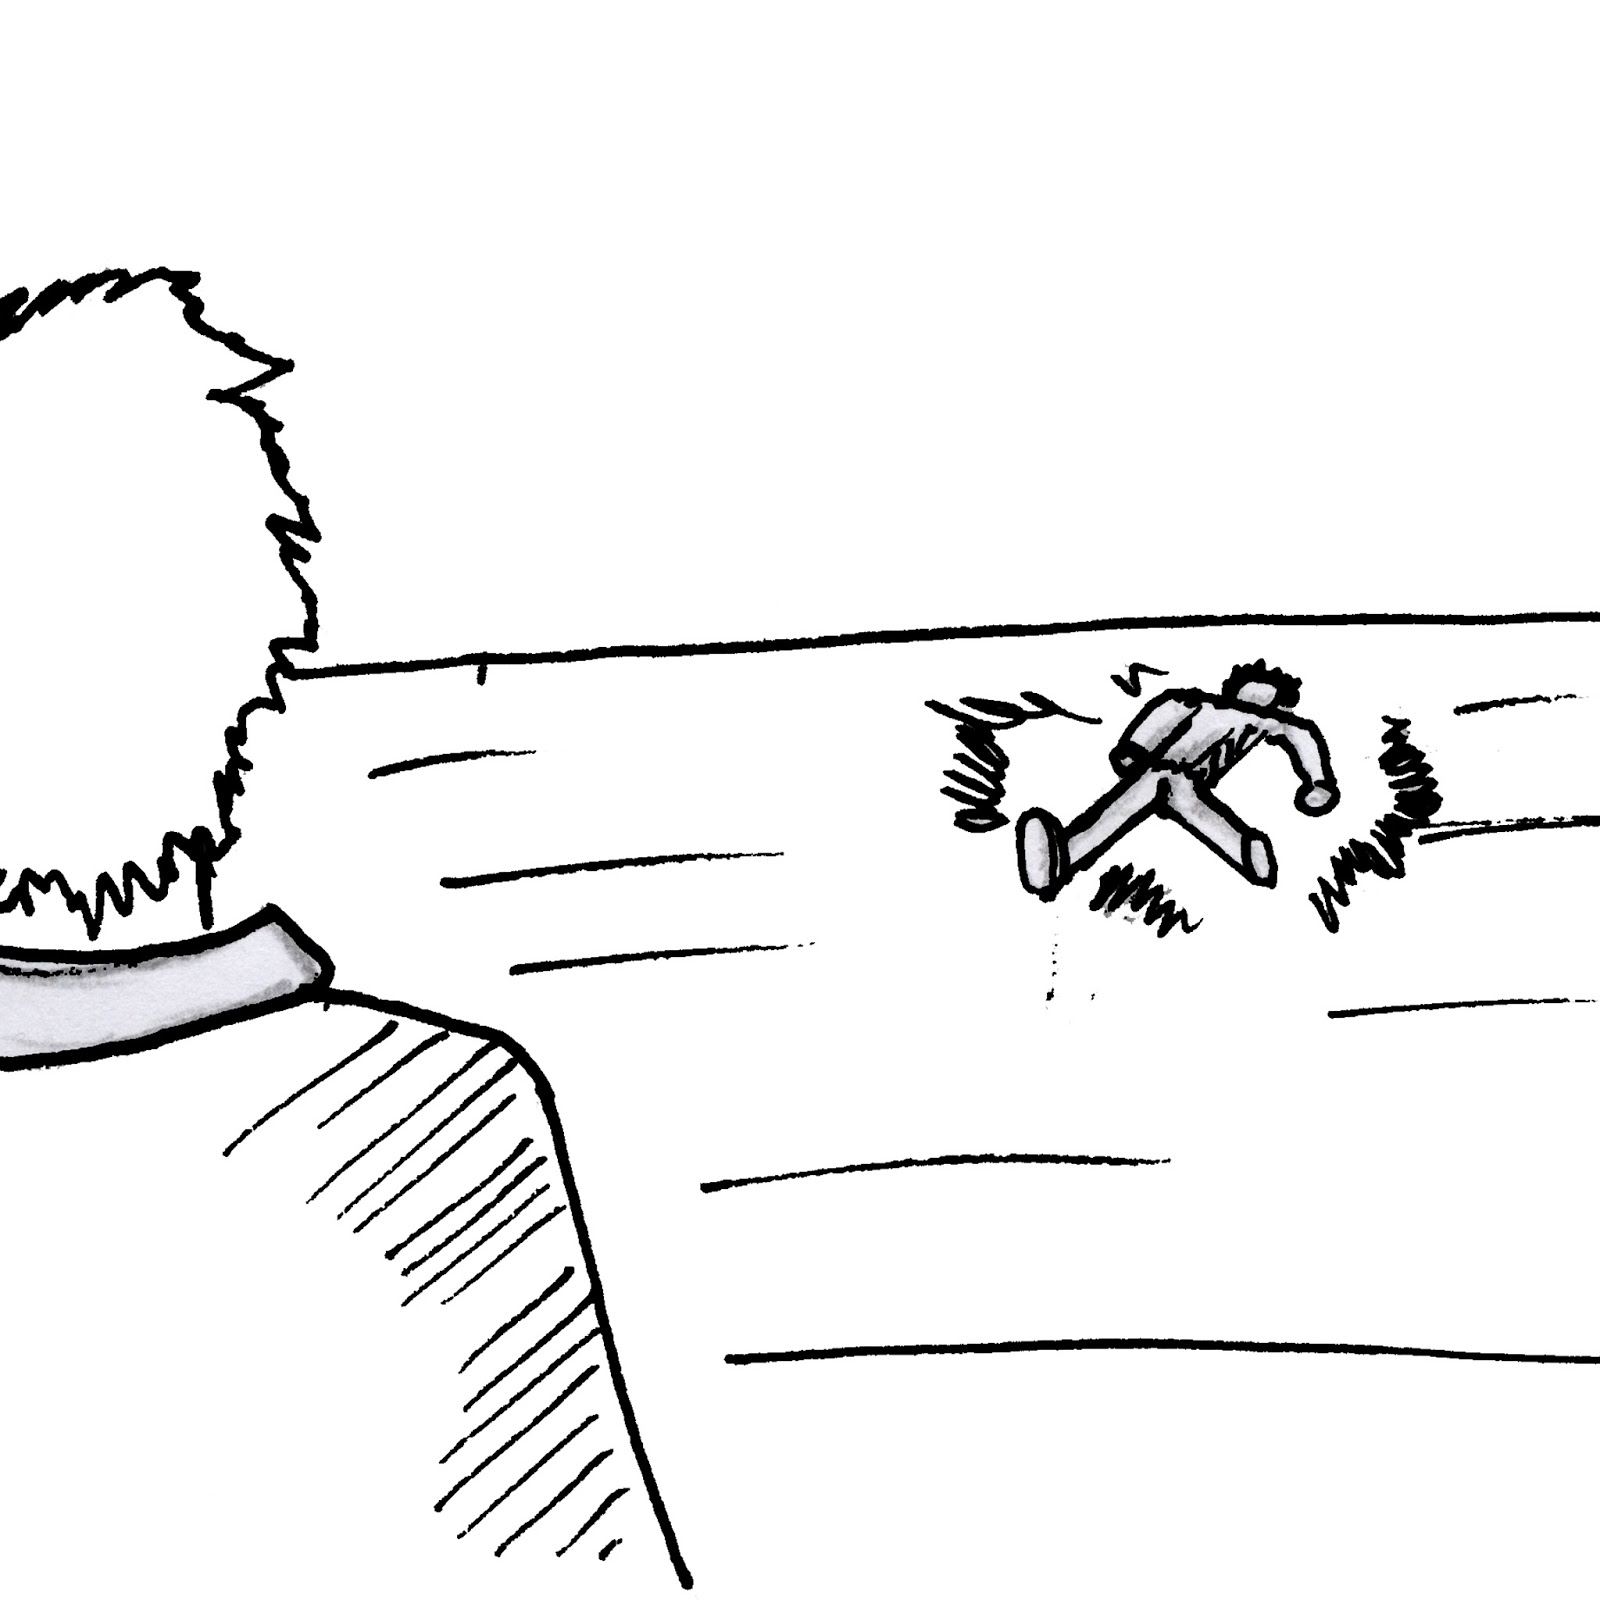
I planned this shot as I felt the last shot of a scene needs to display and show the situation clearly, therefore I included the dead body with a depth of field shot, showing my protagonist starting top run away.
Overall, this scene went the best due to the thorough planning and the amount of space I had to create my shots.
Town Scene
This scene is 10 seconds long.
Here is a shot for shot comparison of the town scene:
Shot 1:
Sketched Panel:
As you can see, on the day I decided to take a different approach to filming this shot as it wasn't very planned before hand due to the look of the sketch. I did not want a medium shot from the front as you would be able to see behind the protagonist, however this is the part where he changes location by walking through his front door, so essentially behind him should be the scenery from the previous shot.
Reflecting on this, I decided to take the shot from the side so you don't see behind the protagonist. I also thought this was a good idea as the match on action between this and the previous shot would be more flowing. The previous shot still needs to be filmed at the moment.
This shot is also alot longer than I expected due to the fact I wanted my actor to appear very confused. This made it difficult to fit alot of my shots into the short time slot I had (roughly 10 seconds)
Shot 2:
Sketched Panel:
As you can see the sketched panel and the actual shot is very different, this is because my actual shot has been cut down and the part where the protagonist is walking with his friends has been taken out due to the small time slot I had to fit this scene in. This is the full length of the shot:
As you can see I have merged the sketched panel of the friends walking, with the sketched panel of the over shoulder shot and made into one continuous shot:
However I still need to animated the man the protagonist is looking at in the panel.
Shot 3:
Sketched Panel:
As you can see I have matched the close up of the protagonist looking at the animated man.
Shot 4:
Sketched Panel:
As you can see, I cut back to the over-shoulder shot as planned, where the girl shoulder barges him. On the time of the barge, I move the camera very quickly to create my wipe transition.
Shots I Missed
There was a medium shot planned, whilst the protagonist is looking at the animated figure, I did not include this due to the limited time frame I had for the scene.
In my original plan it also cuts to the over shoulder shot three times instead of two which I had to miss out because of the 10 second time frame.
Bedroom Scene
This scene was 16 seconds long.
Shot 1:
Sketched Panel:
I feel the fast wipe effect was very effective as the movement of the camera exaggerates my female actors movement onto my protagonist. This shot is very long due to the fact I also made it the shot in which the male antagonist enters the room with his gang. I incorporated this shot with a fast pan to him storming into the room. I feel this is an effective shot as it clearly shows the situation by comparing the body language of the characters,
Sketched Panel:
Shot 2:
Sketched Panel:
I realized I didn't include a shot of my antagonist approaching my protagonist in my storyboard, so instead I did an over the shoulder, tracking shot of the antagonist which leads onto him performing the grab. I really like the movement I used as it shows the violent nature of the grab.
Shot 3:
Sketched Panel:
I feel I roughly followed this shot however from a different angle as I cannot film behind the protagonist as he is against the wall. However, I was still able to include the rule of thirds framing of the thug behind the antagonist and protagonist, to make it look like he is over whelmed. I also included the shot reverse shot edit sequence which i planned, too and from this shot to the previous.
Bedroom Scene Ending
Initially I planned an animation of my protagonist jumping out of a window to escape as this would be a clever way of showing the end of the scene, However I still need to finish my fight animation so I don't have time. I also realized I would not be able to fit it into the short time slot I had for the scene, as the animatic made me think I could include more shots in a short time frame, due to the fact they are only still pictures.
Sketched Frames:
Ending shot:
Instead of my animation, I worked out how long I had left to finish off the scene and created a medium, reverse tracking shot of my protagonist escaping. I really like this shot as the camera movement is fast and frantic, showing the atmosphere of the scene. I also had to think of ways my protagonist could escape and realized my female character hasn't been seen alot during this scene. I then decided to have her grab her boyfriend (antagonist) to start an argument, allowing the protagonist to escape. I ended the shot with a wipe which happens on the beat of the ending line, which I feel is very effective as you don't see how the scene ends, creating tension.
Missing Scene
I planned after my protagonist's fall, that he would pick himself up and stare at the animated figure once again. However once I placed the shots together in Premiere Pro I realized I didn't have time to include it. But it wasn't essential, just supports the consistent appearance of the mysterious animated figure.
Sketched Panels:
End Scene
Shot 1:
This specific shot was made up on the day, however it is from the same angle as one of the opening shots to the video. This is to show that he has just re-lived a cycle of the night before.
Shot 2:
Sketched Panel:
The last shot of the video was also one that happens at the beginning of the music video.
In my next draft I need to film the build up and alternate ending of the fight scene as I do not have time to animated the ending part where the characters fire energy from their hands. I also need to animate small parts of every scene to the beat of the guitar. I also need to film the shot that shows the protagonist running home from seeing the dead body.