Friday, 25 November 2016
Torture Scene Finished
Here is my edited torture scene, I am really pleased with the outcome of this scene as I think the makeup preparation really helped make the scene look realistic and gritty. As well as applying the bruising, I also made the side of my actors face look like it was bleeding, I did this by combining fake blood with black paint so it looked darker and more realistic and dirty.
The filming lighting also really helped give the garage a damp, sinister look. I was going to initially use my garage light however they appeared to bright. In preparation for this scene, I also had to clear alot of the everyday objects from out of the shot, just leaving the chair and lighting equipment.
Overall it took roughly 3 hours to shoot this scene, as I had to keep pouring water on my actor to emphasize his sweating. I also had to add more to his injuries as the torture scene progressed.
The next step will be animating the parts of the footage were the hits connect, this will introduce the aspect of animation into my music video. which will building up to the animated fight at the end.
Here is one of the animated hits I have already done:
The hit happens very quick however this happens alot throughout the 30 second clip, I also can't slow the animated clips down else my video will be out of sync.
This is the finshed animated scene:
I would have liked to animated some more parts to make the animation more consistent throughout the scene, however I have spent enough time on this scene and need to move on. When there is time at the end, i will come back to it.
Thursday, 24 November 2016
RAW Footage / Directing
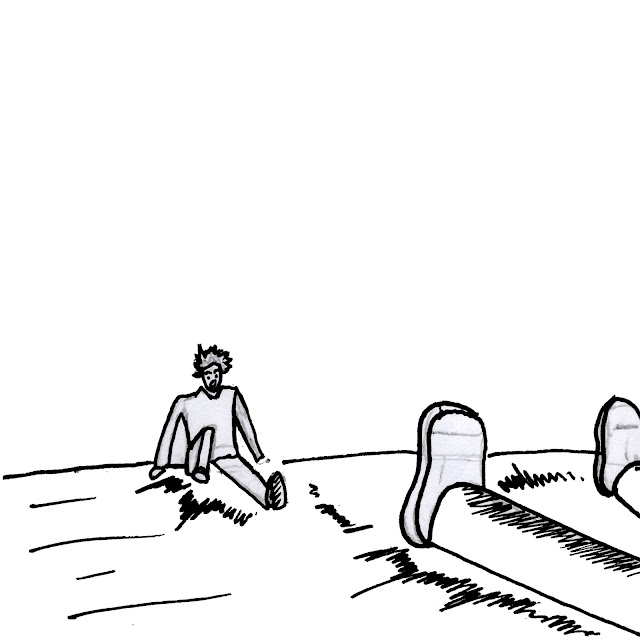
Here is a montage of all the RAW footage from my torture scene in order to show you a behind the scenes look on my directing and planning.
Tuesday, 22 November 2016
Film Schedule
For my First Draft I would like to film the harder scenes first in order to get an idea of how hard it will be, this will also get me prepared for re-filming alot sooner. This means I will be shooting the second half of my music video first, and leaving the building up/intro for later.

I also chose to film the end scenes first as they involve the most animating which I need to start early in order to meet the deadline for the final edit.
I also chose to film the end scenes first as they involve the most animating which I need to start early in order to meet the deadline for the final edit.
Monday, 21 November 2016
Preparing for Scene 6
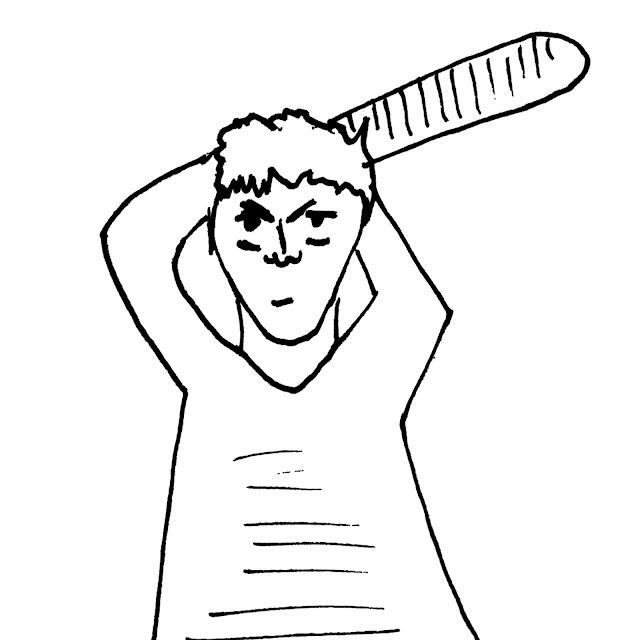
In scene 6, the protagonist is seen tied to a chair getting beaten up by 3 gang members. I want this scene to be very gritty in order to reflect the song's genre. In order to do this, I will need to prepare the equipment:
As you can see all these scenes are shot in low lighting, in ran down locations. I am going to use the idea from Reservoir Dogs to use my garage, as that also has chains and flickery lights (seen in Casino Royal) which provides a very gritty environment:
Like in Kick-Ass I am also going to include my own lights which will be set up behind the protagonist. I also want two thugs standing with the protagonist.


I would like the men behind the protagonists to be wearing balaclava's and the man with the baseball bat to show his face, this is because I want the audience to recognize the character.
As a torture weapon, I want to be as iconic as possible so I will use a baseball or cricket bat.
The key for making for making a successful torture scene is the make-up so the wounds look realistic. Here are some video's I have used in order to prepare for re-creating bruises and cuts.
In these video's the experts say bruising is the easiest thing to replicate so that will be most of the wounds my protagonist will have. However I would like to include the odd blood drip which I have included in my animation. To recreate my bruising, I will be using various brushes, make up and face paint.
Here are some few trials I have made:

Another thing I have noticed for the torture scenes is that when the protagonist is hit, he occasionally spits a liquid out of his mouth that appears to be blood. I will also be creating a drink that gives the same effect.
Props
In this scene I would like to follow the conventions of a torture scene shown ion many movies (Kick-Ass, Reservoir Dogs, Casino Royale)
As you can see all these scenes are shot in low lighting, in ran down locations. I am going to use the idea from Reservoir Dogs to use my garage, as that also has chains and flickery lights (seen in Casino Royal) which provides a very gritty environment:
Like in Kick-Ass I am also going to include my own lights which will be set up behind the protagonist. I also want two thugs standing with the protagonist.


I would like the men behind the protagonists to be wearing balaclava's and the man with the baseball bat to show his face, this is because I want the audience to recognize the character.
As a torture weapon, I want to be as iconic as possible so I will use a baseball or cricket bat.
The key for making for making a successful torture scene is the make-up so the wounds look realistic. Here are some video's I have used in order to prepare for re-creating bruises and cuts.
In these video's the experts say bruising is the easiest thing to replicate so that will be most of the wounds my protagonist will have. However I would like to include the odd blood drip which I have included in my animation. To recreate my bruising, I will be using various brushes, make up and face paint.
Here are some few trials I have made:

Another thing I have noticed for the torture scenes is that when the protagonist is hit, he occasionally spits a liquid out of his mouth that appears to be blood. I will also be creating a drink that gives the same effect.
Casting, Mise-en-scene, Props, Location, Costumes, Cast List
Cast List
William Cross - Protagonist
Charlie Moore - Animated Antagonist, Gang leader
Tim Parker - Thug 1
Javen Thompson - Thug 2
Sophie Ambros - Girl protagonist sleeps with
Will Marshall - Singer of Band
Extras will also be used that will include the actors above as well as others. There will roughly be 4 extras.
Mise-En-Scene
Scene 1 - Protagonist Waking Up
Costume
Will Cross - Black Denim Jacket, Black Skinny Jeans, Black Vans, White T-shirt.
Charlie Moore - Dressed all black.
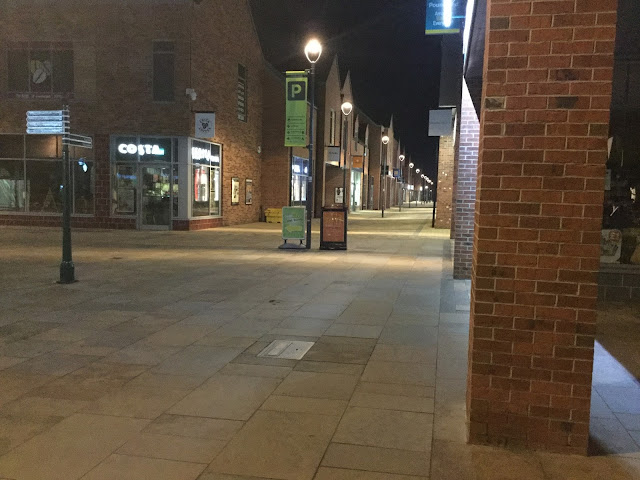
Location - Car Park - Beverley
Scene 2 - Protagonist Walking Home
Will Cross - Same costume
Location - Park Avenue Beverley
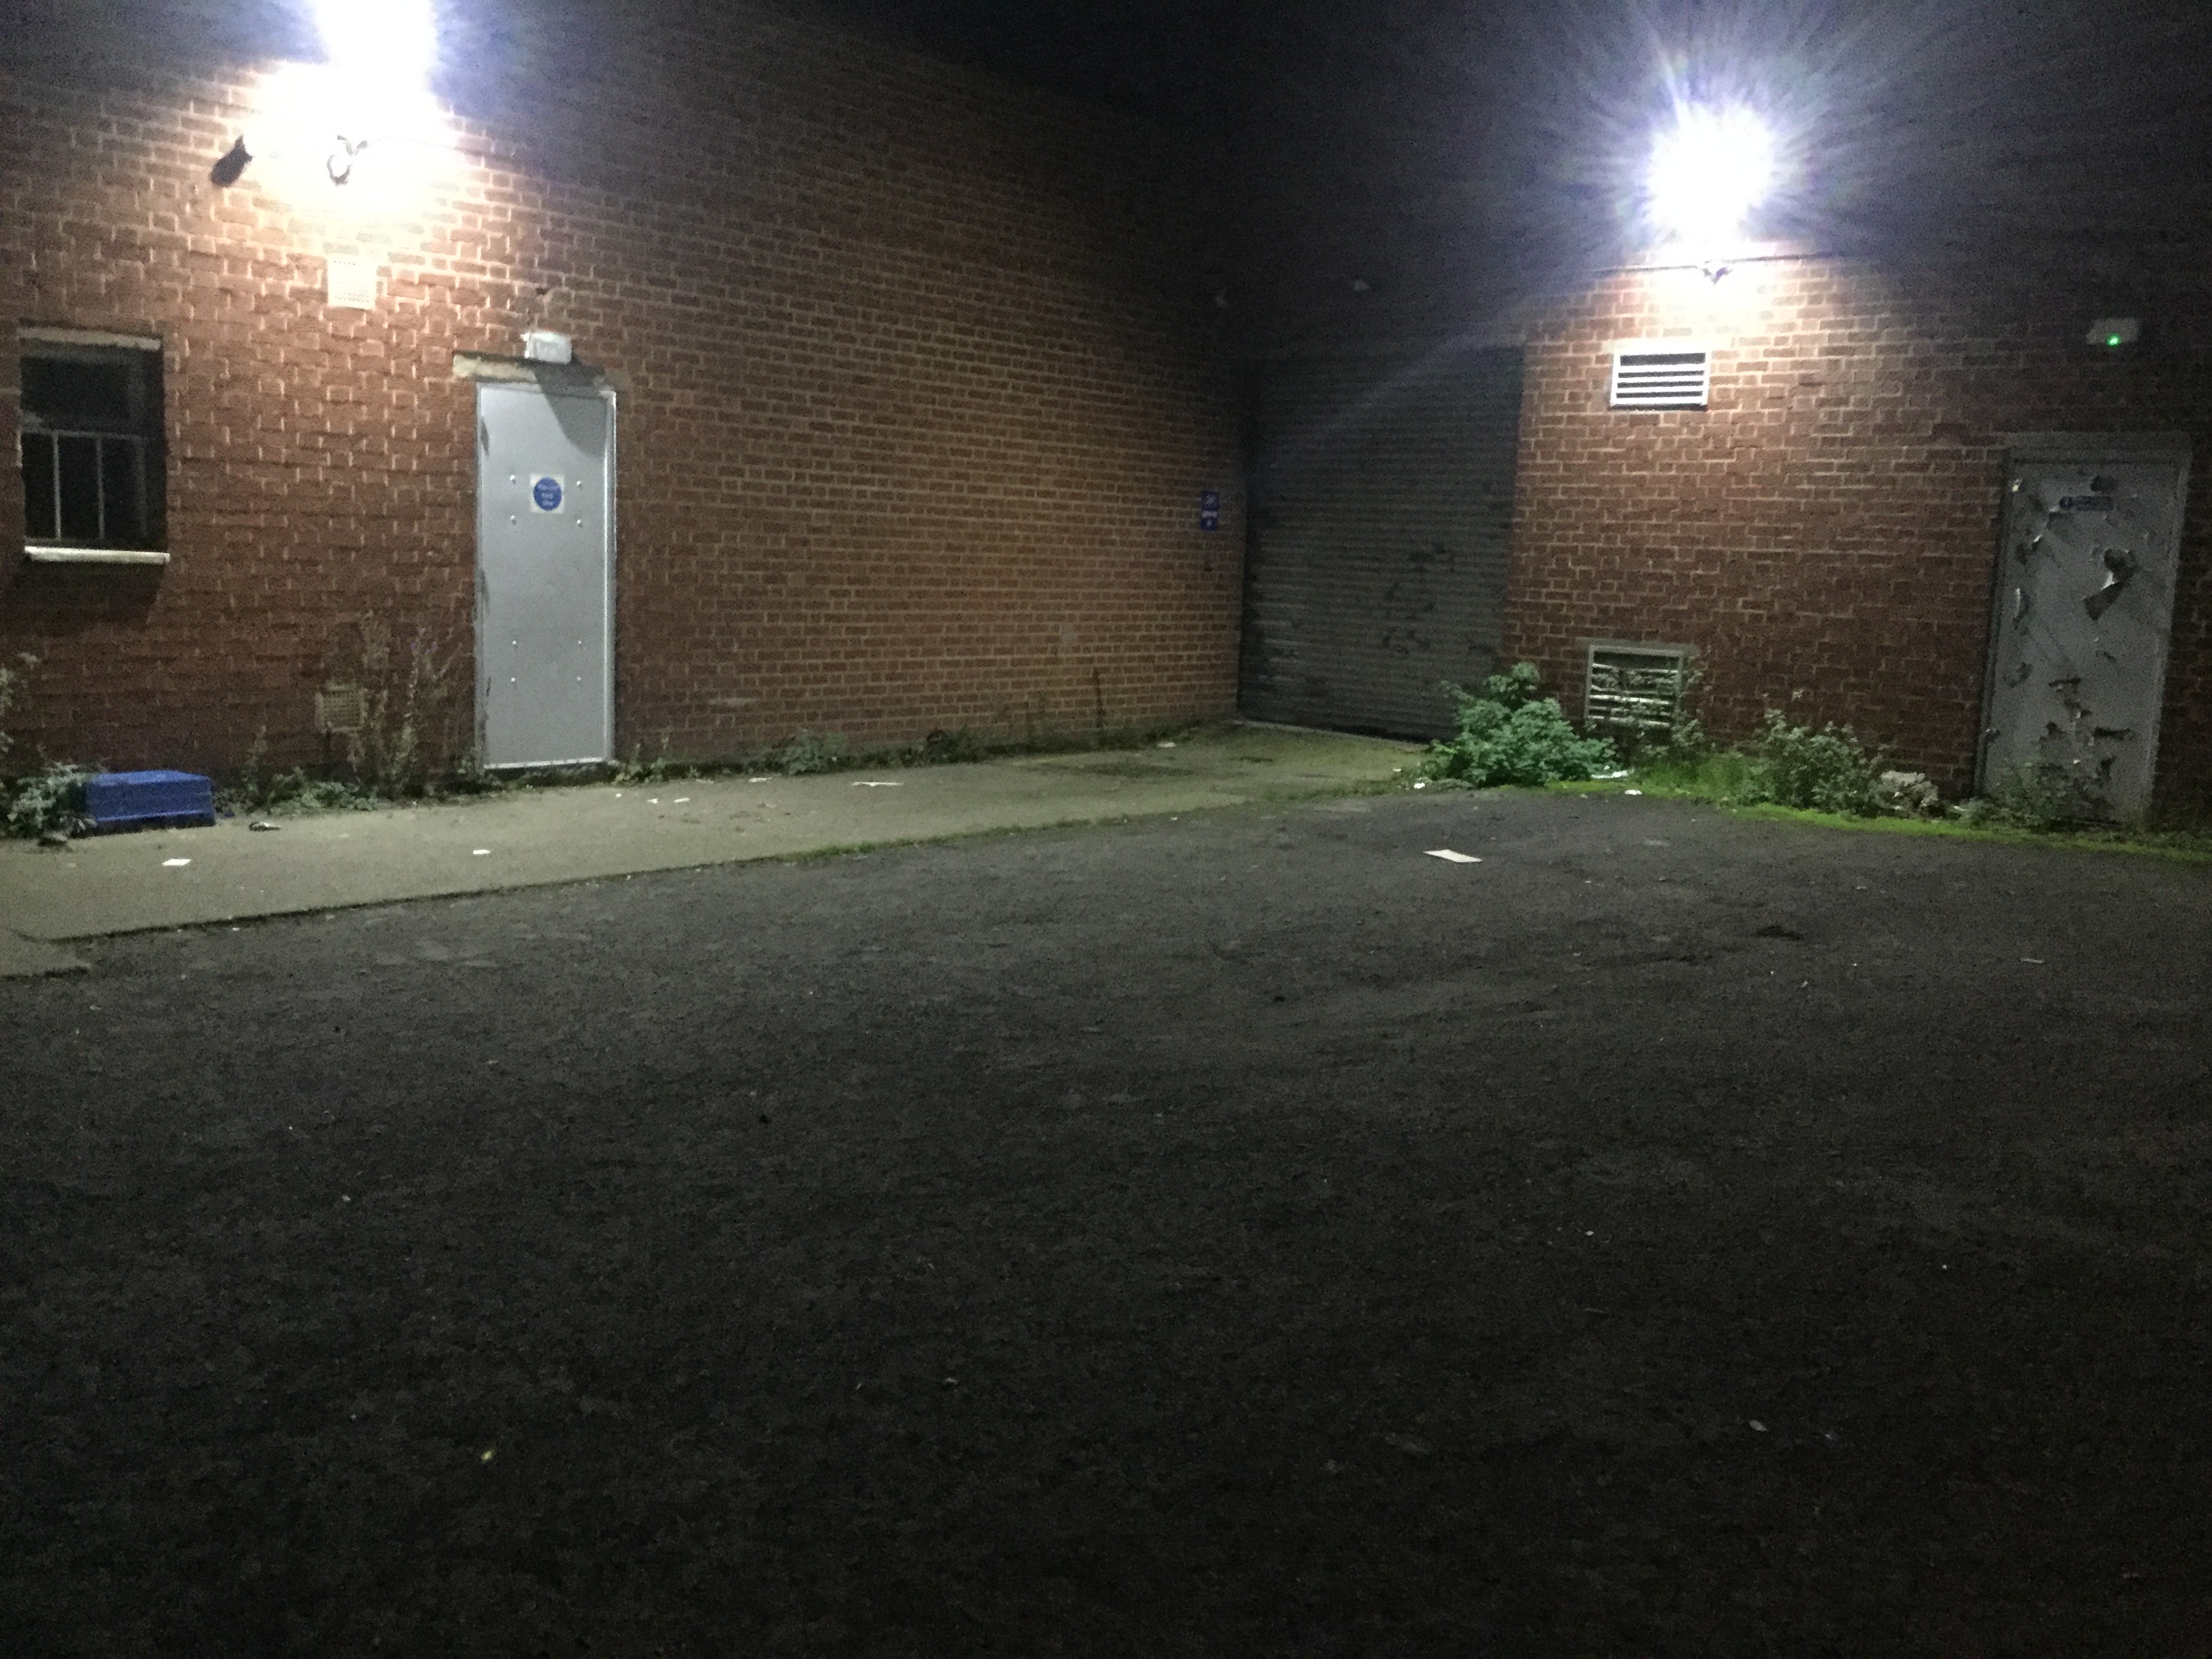
Scene 3 - Protagonist teleports to town centre
Will Cross - Same Clothing
Extras - Casual Clothing, Jeans, Jackets
Location - Beverley Town
Props - Beer Bottles
Scene 4 - Protagonist Wakes Up in Bedroom
Will Cross - Same Clothing
Sophie Ambros - Revealing, provocative clothing, a dress,
Charlie Moore - All black, lower class stereotype clothing, hoodie.
Javen Thompson and Tim Parker - All black, jeans, jackets, lower class clothing (they act as extras in this scene)
Location - My bedroom or Friends Bedroom
Scene 5 - Protagonist walking down a street, gets chased down an alley
Will Cross - Same Clothing
Javen and Tim Parker - Same clothing as previous scene
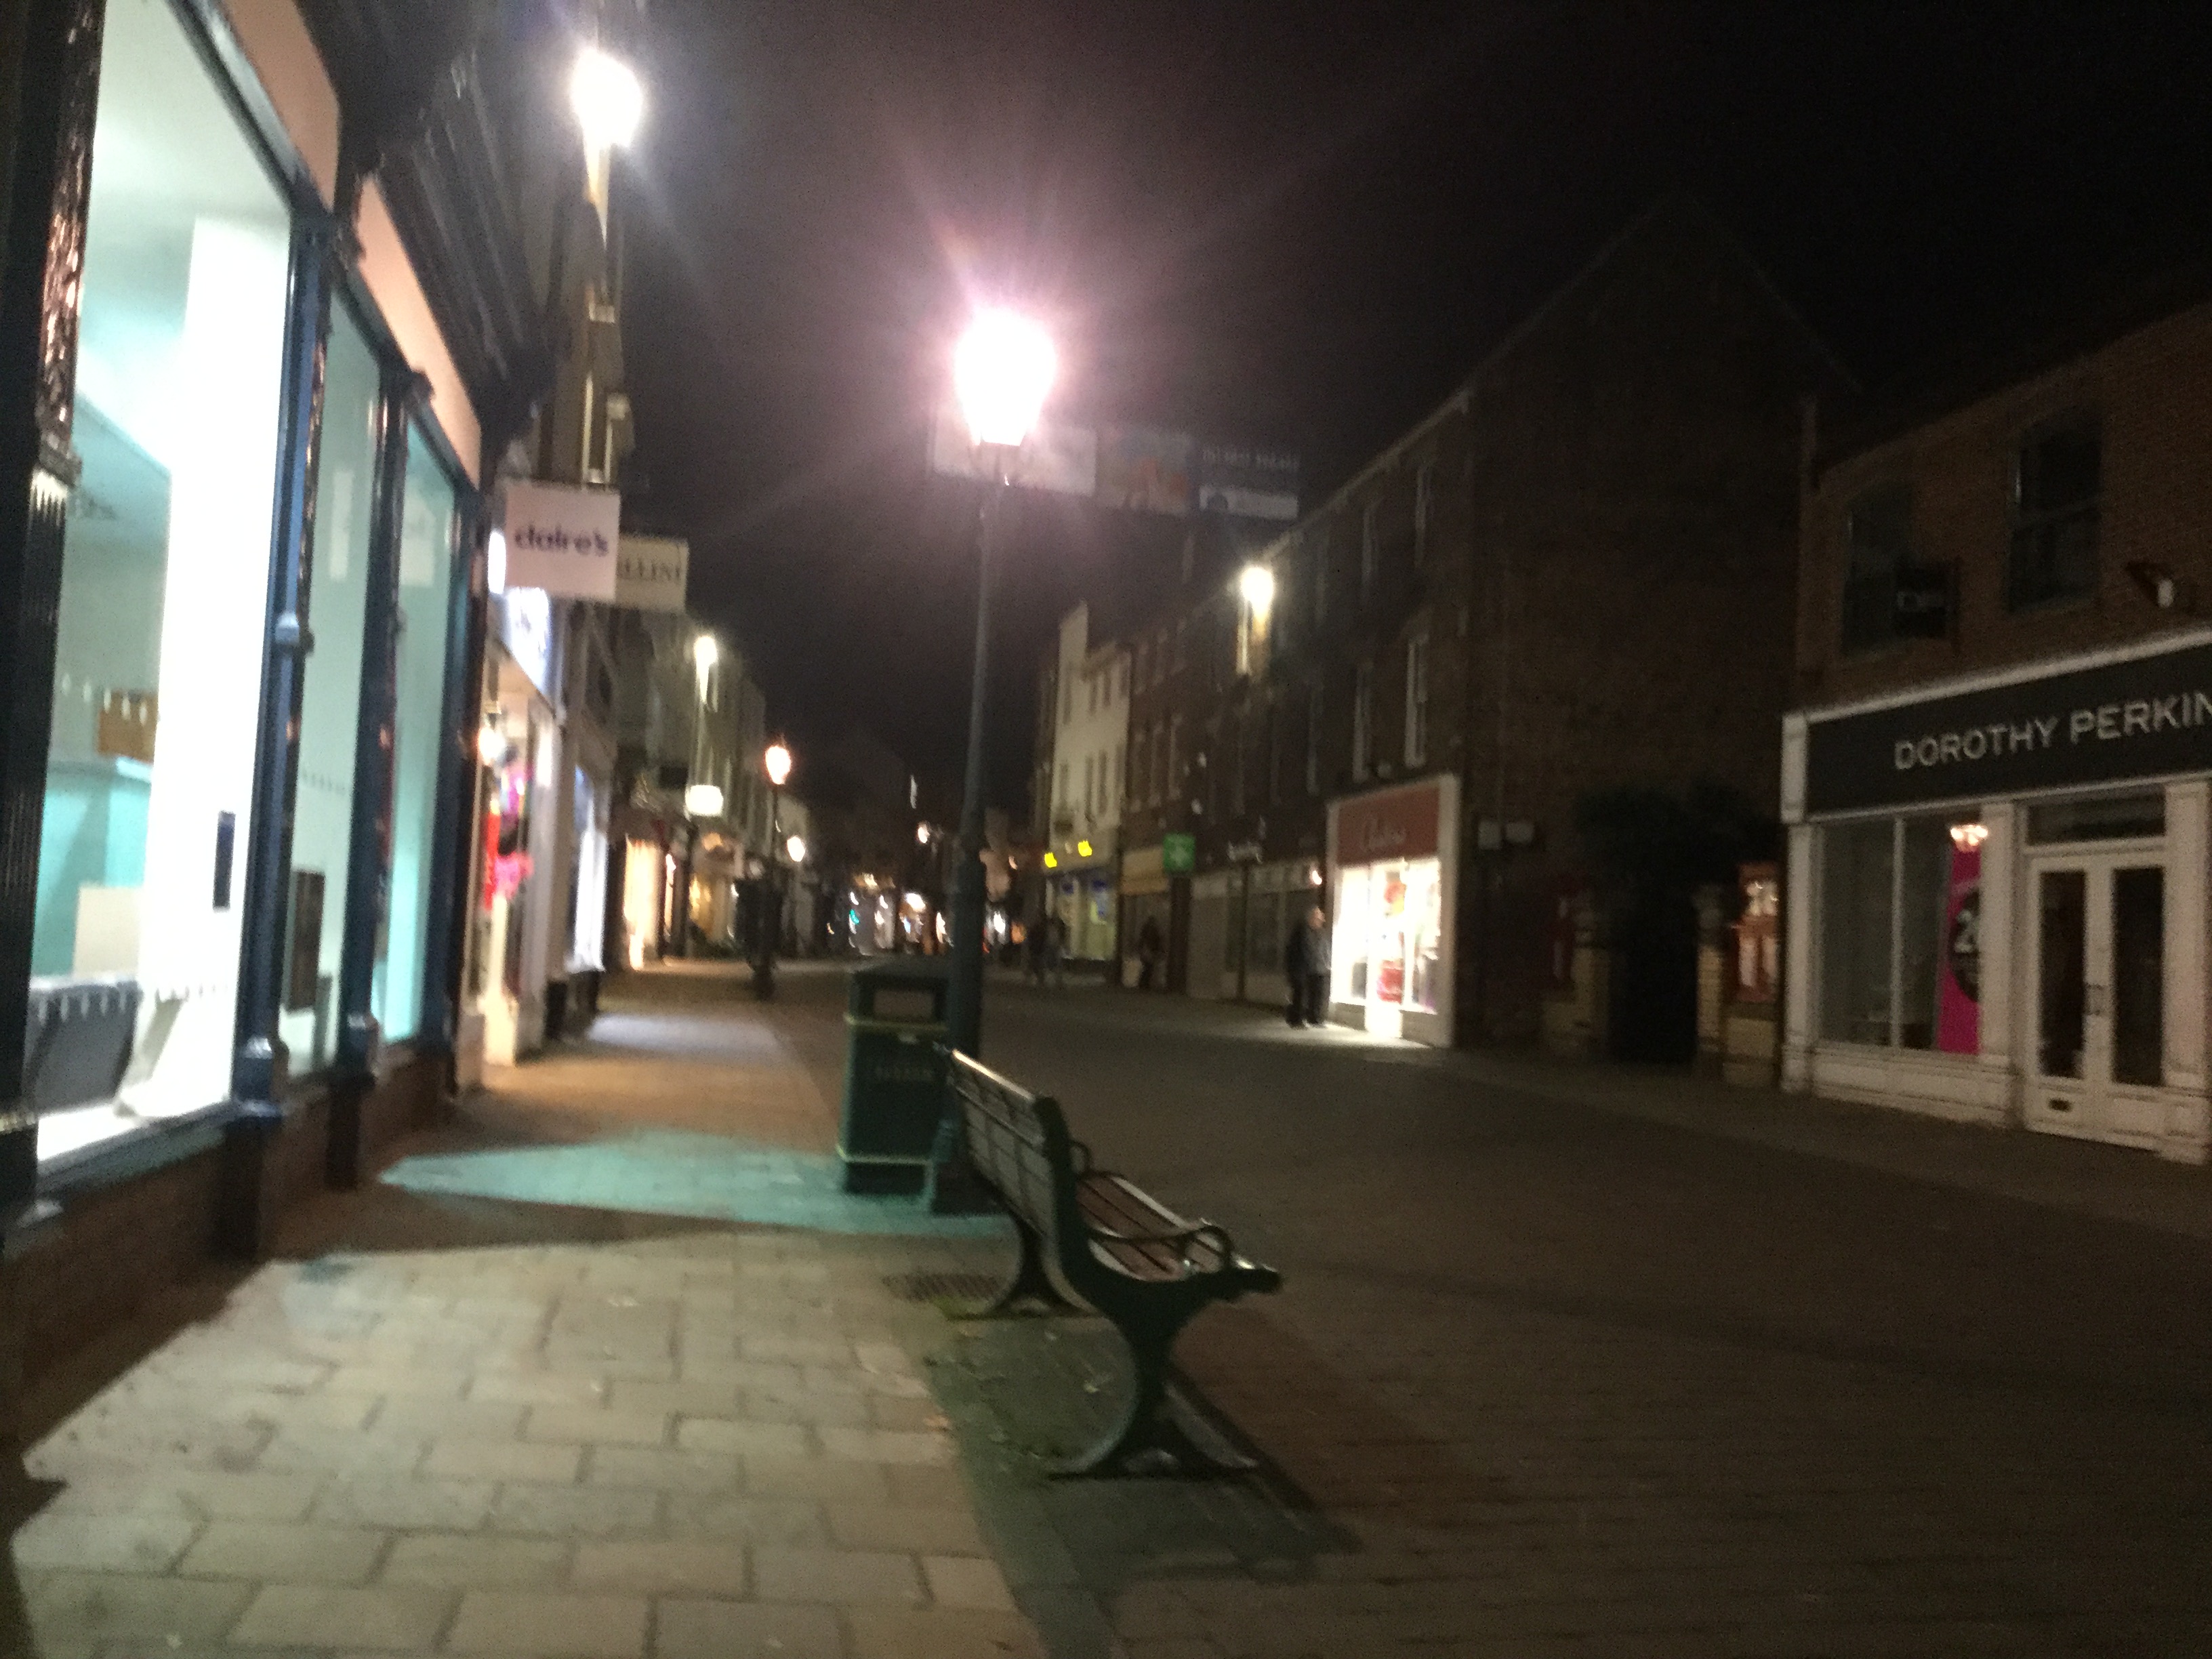
Location - Flemmingate Development and side alley - Beverley
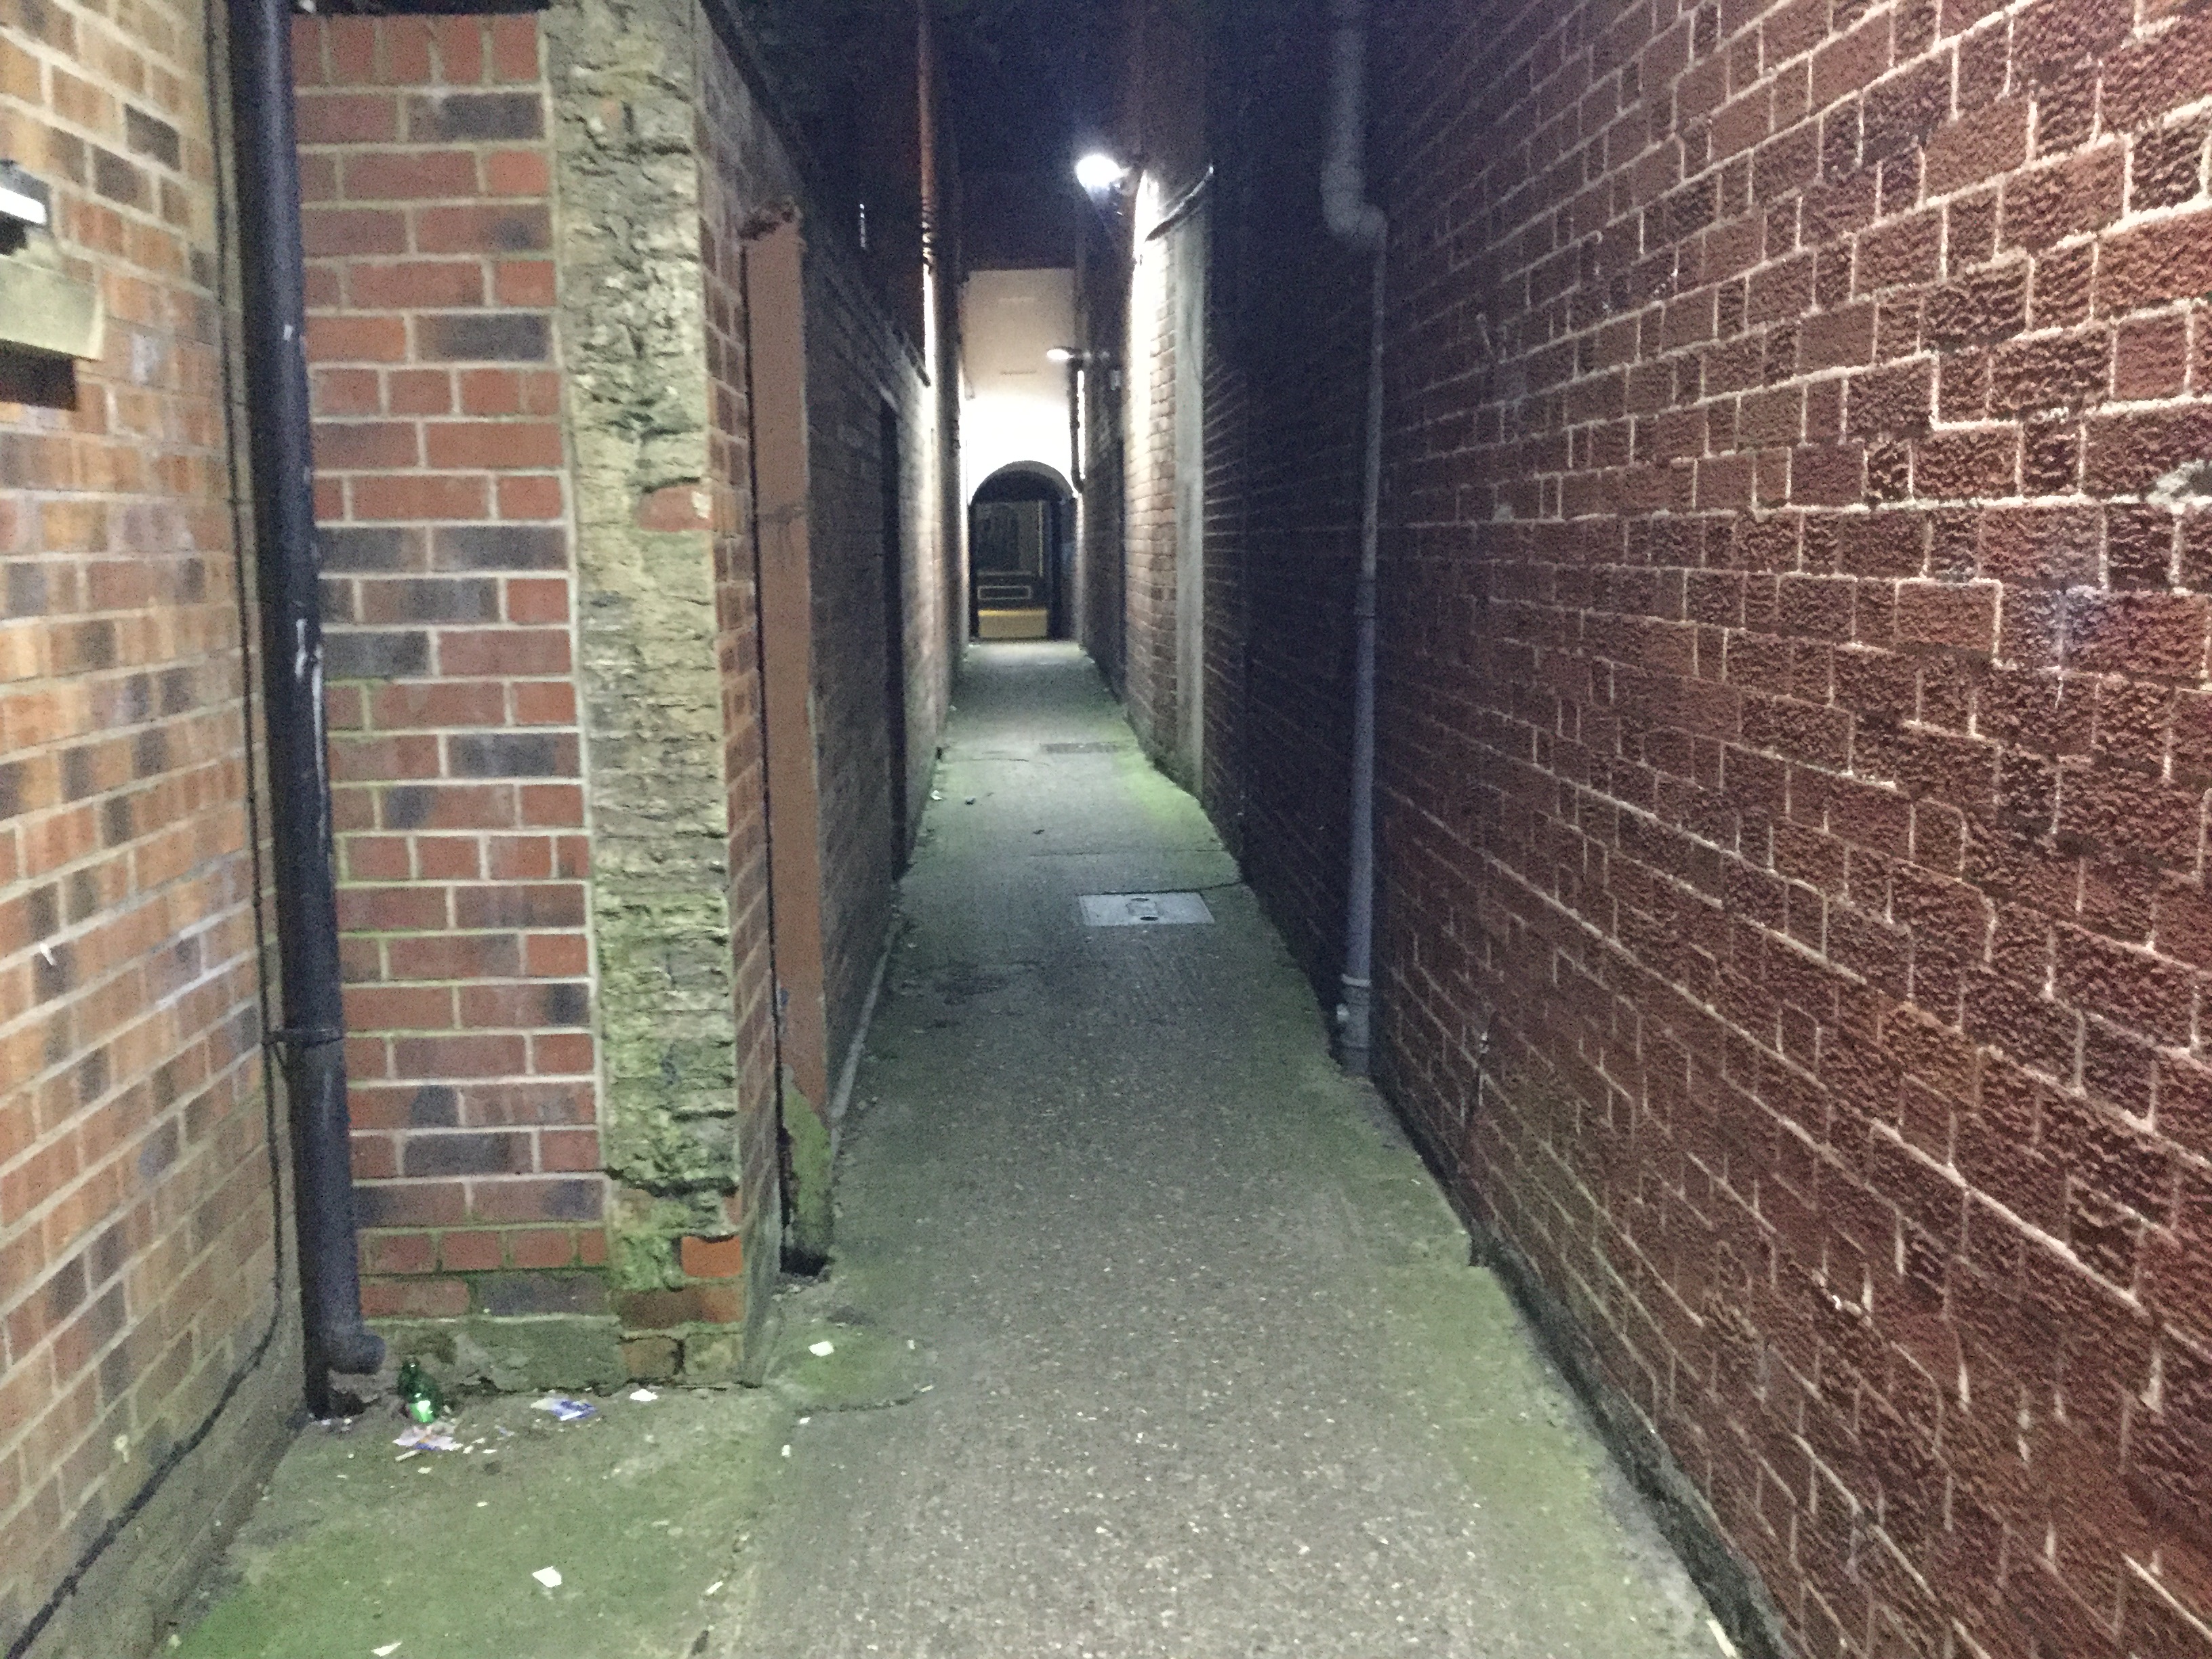

(A good location as it is usually empty)
Scene 7 - Torture Scene
Will Cross - Same Clothing, bloody, bruised face (make up)
Charlie Moore - Same clothing, with cricket or baseball bat
Javen Thompson and Tim Parker - Stood in the background in same clothing.
Props - Rope, Chair, Cricket or Baseball Bat.
Location - My garage.
Scene 8 - Final animated fight
Will Cross - Same Clothing
Charlie Moore - doesn't matter for clothing as he is animated.
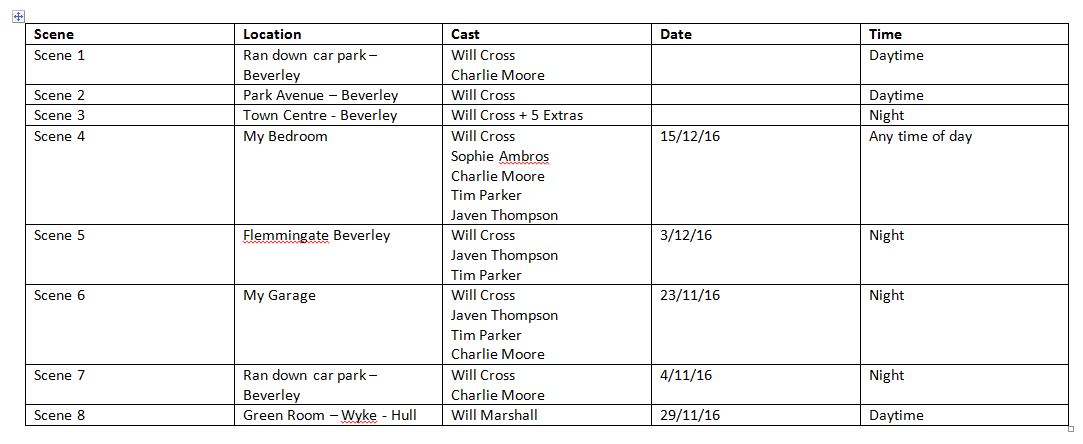
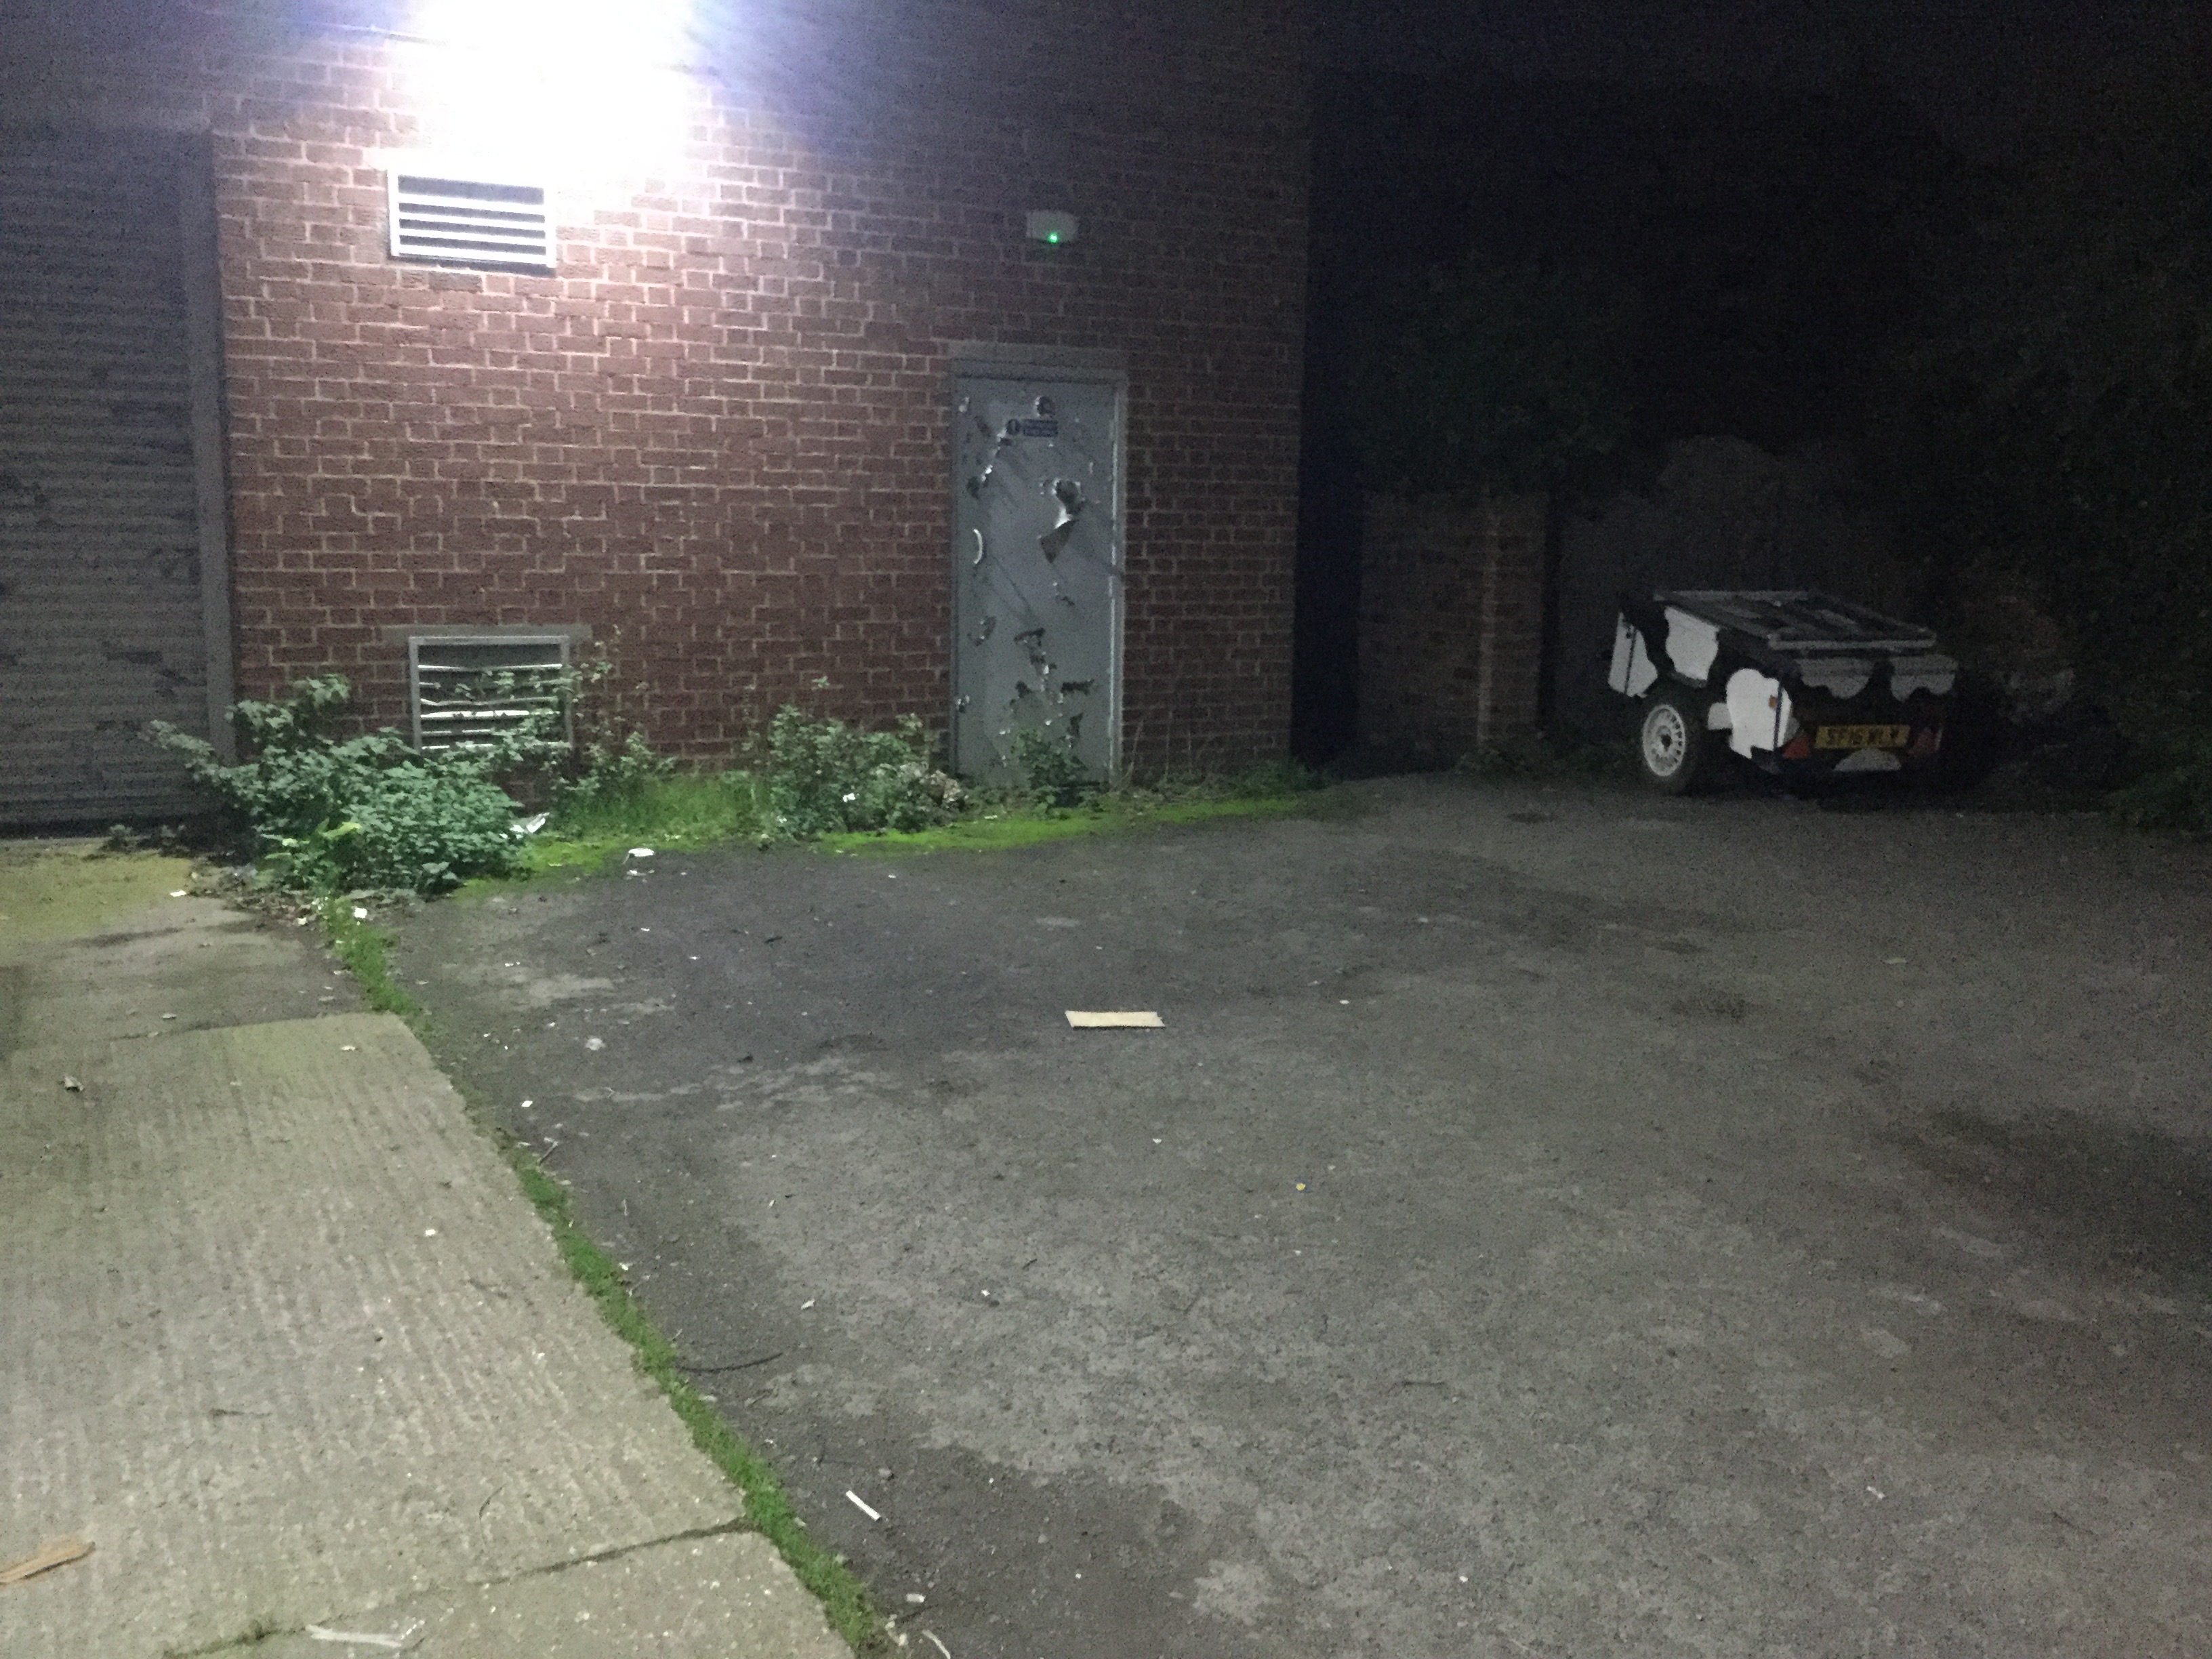
Location - Ran Down Car Park Beverley
Here are some lighting tests to show how the scene should roughly look.

William Cross - Protagonist
Charlie Moore - Animated Antagonist, Gang leader
Tim Parker - Thug 1
Javen Thompson - Thug 2
Sophie Ambros - Girl protagonist sleeps with
Will Marshall - Singer of Band
Extras will also be used that will include the actors above as well as others. There will roughly be 4 extras.
Narrative
Mise-En-Scene
Scene 1 - Protagonist Waking Up
Costume
Will Cross - Black Denim Jacket, Black Skinny Jeans, Black Vans, White T-shirt.
Charlie Moore - Dressed all black.
Location - Car Park - Beverley
Scene 2 - Protagonist Walking Home
Will Cross - Same costume
Location - Park Avenue Beverley
Scene 3 - Protagonist teleports to town centre
Will Cross - Same Clothing
Extras - Casual Clothing, Jeans, Jackets
Location - Beverley Town
Props - Beer Bottles
Scene 4 - Protagonist Wakes Up in Bedroom
Will Cross - Same Clothing
Sophie Ambros - Revealing, provocative clothing, a dress,
Charlie Moore - All black, lower class stereotype clothing, hoodie.
Javen Thompson and Tim Parker - All black, jeans, jackets, lower class clothing (they act as extras in this scene)
Location - My bedroom or Friends Bedroom
Scene 5 - Protagonist walking down a street, gets chased down an alley
Will Cross - Same Clothing
Javen and Tim Parker - Same clothing as previous scene
Location - Flemmingate Development and side alley - Beverley


Scene 7 - Torture Scene
Will Cross - Same Clothing, bloody, bruised face (make up)
Charlie Moore - Same clothing, with cricket or baseball bat
Javen Thompson and Tim Parker - Stood in the background in same clothing.
Props - Rope, Chair, Cricket or Baseball Bat.
Location - My garage.
Scene 8 - Final animated fight
Will Cross - Same Clothing
Charlie Moore - doesn't matter for clothing as he is animated.
Location - Ran Down Car Park Beverley
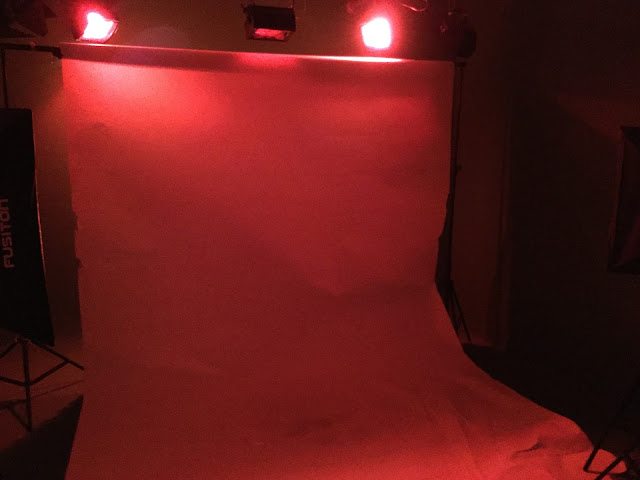
Performance
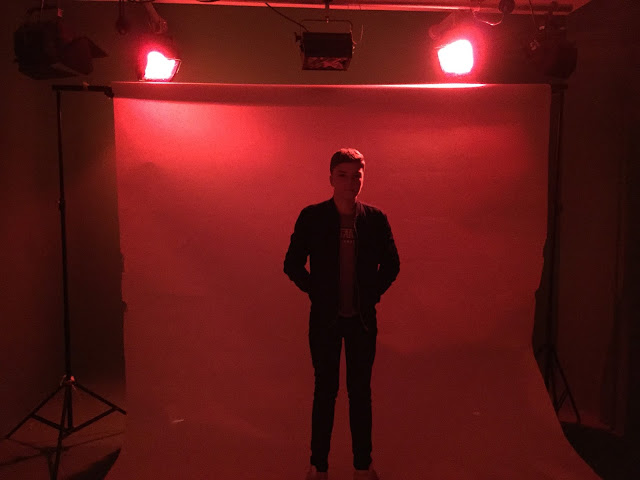
Location - Green Room
Props - Red Lighting, Guitar, Microphone with stand, drumset
Costume - Casual / Retro Clothing, Vans, Black Jeans, Souvenir Jacket and white T-shirt
Here are some lighting tests to show how the scene should roughly look.


Thursday, 17 November 2016
Drawing Process
This is how to start actually animating the frames you have exported, firstly to make it an easier and quicker process, you will need a graphics tablet. I use a Wacom Intuos Pro (Medium)


This allows me to draw the frames like I would on a piece of paper. Whenever the stylus of the tablet touches the surface, a mark will appear on Photoshop (Software we will be using to draw my frames)
Next I will show you how to set up Photoshop in order to be ready to draw your frames.
Firstly, you need to go to File, Open, then select your first frame:


Once you have opened your first frame, you need to check its size / resolution by going to Image, Image Size.


The image size depends on how pixelated of a line you will have when you draw, for example if I draw at the current size of 1920 by 1080, my line appears like this:

As you can see, the quality of line is very bad, you have to increase the image resolution, preferably not too big as you don't want a huge file size, I am going to put the resolution at 600, this will change the size of the image also.
Next you want to duplicate your layer with the picture of the frame on.

Then fill in the original frame layer in whatever background colour you want, in my case it is black. You do this by going to Edit, Fill.

Then create a layer above the Frame Copy, this will be the layer you are going to draw on.

By drawing on a separate layer, you aren't damaging the original picture. It is like using tracing paper.
You then start to trace round the picture on the Drawing layer.

Re-Edit and Exporting the frames
I have decided to re-edit my fight scene as the cuts between the actions were not perfect, making the film jump. I decided to re-edit the footage on Premiere Pro as when you are putting two pieces of footage together, it shows you the last frame of one piece of footage, and the starting frame of the other, so you can cut it together perfectly.

I also colour corrected the footage and made it brighter so it will be easier to draw around in the animating process.


The next step was exporting the frames of my video so they were all seperate JPEG files to draw around. This involves taking the footage back into an editing software, seen as I am doing most of my drawing at home I am putting it into Sony Vegas Pro:

By scrolling, it will allow me to zoom into the clip and see every different frame seperatley.

Where the different timings are, is where the seperate frames finish.

Click on the first frame, then click the circled icon to Snapshot the frame in the same resolution.
 Then copy and paste it into Paint, and save it as a JPEG.
An alternate method I have found is if you click the save icon next to the circled icon:

This automatically saves the file to any folder or location you choose.

I also colour corrected the footage and made it brighter so it will be easier to draw around in the animating process.

(Original)

Colour Corrected - I have increased the brightness aswell as the contrast as the video started to become pix-elated and bad quality. By doing this, I also feel like I have got rid of a grey look the original clip had.
The next step was exporting the frames of my video so they were all seperate JPEG files to draw around. This involves taking the footage back into an editing software, seen as I am doing most of my drawing at home I am putting it into Sony Vegas Pro:

By scrolling, it will allow me to zoom into the clip and see every different frame seperatley.

Where the different timings are, is where the seperate frames finish.

Click on the first frame, then click the circled icon to Snapshot the frame in the same resolution.

An alternate method I have found is if you click the save icon next to the circled icon:

This automatically saves the file to any folder or location you choose.
Sunday, 13 November 2016
Friday, 4 November 2016
Storyboard


Animated distortion to imply distorted memories of the night before, also introduces animation into the video. (00:00.5)

Close up of actor trying to remember events, still waking up. (00:00.5)

Close up of bloodied fist, implies violence. Fist should be in focus and the surroundings should be out of focus. (00:00.5)

Distorted animation of the fight the night before, also links to the bloody fist. (00:02)

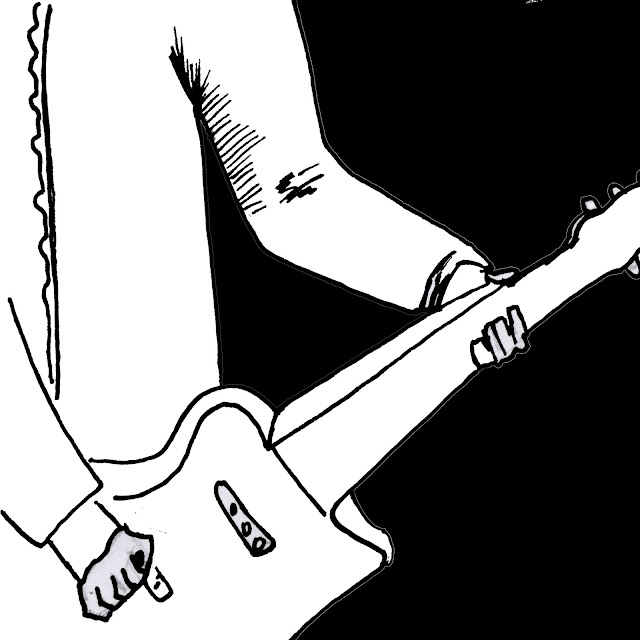
As the guitar kicks in the soundtrack, a medium shot will play of the artist playing a guitar in a dark studio with red lighting. (00:01)

Medium shot of the artists face playing the guitar (adversities artist/band) (00:00.5)

Long shot of protagonist getting up, feet position to the side of the frame. The audience see the dead body at the same time the protagonist does, they will share a confused reaction. (00:00.5)

Cuts back to a medium shot of the drummer, the drums are very dominant in the soundtrack. (00:02)

Over shoulder shot of protagonist getting up and staring at the body. (00:01)

Medium shot of protagonist as he is backing away from the dead body in shock (eye line match) (00:01)

Returns to the long shot with the protagonist running away (pull-focus from the show to protagonist) The intro to the song ends and the lyrics start. (00:04)

Close up of artists mouth as he sings the first line of the song. (00:01)

Medium tracking shot of the protagonist walking home, still confused and panicked. (00:01)

Medium shot from behind of protagonist struggling to open the door. (00:00.5)

When the door finally opens, the protagonist stumbles into Beverley town and teleport's into the night before. This will be shown through a medium shot slightly from the side so you don't see whats in the doorway behind the protagonist. (00:01)

Match on action of protagonist walking with his friends on a night out. Will be shown through a tracking medium shot, the camera will move around the group, focusing on beer bottles that they are holding and the protagonist and friends facial expressions. (00:02)
.

The camera will then focus to the side of the group in a medium shot to close up movement towards the protagonist who is distracted by a figure. (00:02)

Overall shoulder shot to show the animated figure the protagonist is looking at. (Eye Line Match) (00:02)

Extreme close up of the protagonist wondering what the mysterious animated figure is (0:02)

Cuts back to the medium tracking shot where one of his friends, shoulder barges him onto the floor. As he is falling out of frame a match on action will appear. (00:03)

There will then be a medium shot of the protagonist falling onto a bed with a girl on top of him. This implies that this is later on in the events of the night before. (00:02)

Camera pans across to the room, to the door which opens as the girls angry boyfriend walks in with two other men.(00:02)

Tracking over shoulder shot of the men holding the protagonist against a wall. (00:02)

Over-shoulder shot of the protagonist looking at the angry men. (00:02)
Cuts back to over shoulder shot of protagonist getting strangled (00:01)

Cuts back to close up of artist singing line. (00:02)
(00:01)

Animated match on action of the protagonist jumping out of the window.

Same animated protagonist falls to the ground face first and lies there. Then starts to get up gradually and rise. (00:05)

Match on action of real-life protagonist rising through an over-shoulder shot, sees the animated figure again (he's behind all this) (00:04)

Camera moves to the other shoulder to shoe the animated figure has disappeared (00:04)

Medium tracking shot of protagonist walking down Flemmingate (00:12)

Two men appear either side of the protagonist (rule of thirds) and start walking either side, They get closer and closer. When the chorus starts, the protagonist looks behind then runs out of frame.

Match on action of the protagonist being chased. This will be shown through a long shot partially behind a war, panning and following. (00:02)

Tracking shot of protagonist running away and looking behind scared. (00:01)

Tracking over-shoulder shot of people running after protagonist. They start to turn down an alley way. (00:01)
Medium shot of artist singing and playing guitar. (00:03)

Close up of the guitar picking by the artist. (00:01)

Medium tracking shot of protagonist running down a crammed alley, he will be knocking against the wall and stumbling. (00:02)

The same tracking shot used for the chasers of the scene. (00:01)

Close up of artist singing (00:02)
Cuts back to protagonist running away down the alley, he eventually runs out of the tunnel into darkness, the screen goes black.(00:05)

Long / Wide shot of protagonist tied to a chair with people standing round him, lights will flicker on and off to imply run-down, criminalized location. (00:06)

Tracking close up of baseball bat, man who is holding it walks towards him. (00:02)

Over shoulder shot of man with baseball bat approaching protagonist, protagonist sings the lyrics of the songs in a scared way to show his situation

Match on action of baseball bat hitting protagonists knee - Close Up (00:01)

Over-shoulder shot turns into the protagonist getting punched, because the camera is filming from the left side and the antagonist is punching from his right, it will create an effect that the punch has connected (00:04)

Match on action of antagonist punching from his left side (00:02)

Match on action of protagonist bending over in pain, only the legs of the antagonist are in frame to show his dominance. Protagonist then starts to sit up straight (00:03)

Match on action of protagonist sitting up straight and shouting the lyrics at the antagonist, shown by medium shot (00:02)

Close up of protagonist looking weak and tired (00:01)

Protagonist struggling violently to get out of the chair, shown by the medium shot shown earlier (00:02)

Long shot of protagonist getting kicked in the chest by antagonist, men stood behind hold the protagonist up (00:01)


Over shoulder shot from the antagonists other side, the over shoulder shot turns into a punch thrown by the antagonists left hand, because i'm filming on the right side of his body, the punch will appear like it has connected. (00:04)

Match on action of protagonist getting punched, shown through a medium shot (00:01)

Match on action of the protagonist falling to the ground with the chair, after being hit. his will be shown by a long shot of the camera which will be placed on the floor / near the floor (00:01)

Medium shot of protagonist getting kick whilst he's on the floor (00:02)

Close up of protagonist looking up at his attacker - eye line match (00:02)

High angel from protagonists POV looking up at the attacker about to swing a baseball bat (00:01)
Cuts back to close up of protagonist (00:01)
Antagonist finishes his swing. Shown through high angle. Cuts to blackness when the bat gets close to the camera (00:01)

Cuts to band's diegesis. Close up of singers mouth singing the lyrics of the next verse. (00:02)
 Protagonist appears in a dark, dingey street and slowly gets up. Medium shot that pans up as the protagonist gets up (00:04)
 Match on action of protagonist getting up, staring at something in the distance. Shown through a close up (00:03)

Over shoulder shot showing what the protagonist is looking at - eye line match (00:05)

Zoom into protagonists angry face, zooms to left eye (00:02)
Animated distortion plays, this distortion turns into the animated fight.
The animated fight is a 30 seconds long take of the actors performing a piece of fight choreography, the camera will pan around the actors at a long - medium shot distance.


 Next real time shot will be a long shot showing the protagonist laying down, the screen will fade to show he has passed out.

The camera will then come out of the fade and it will be the morning with the protagonist laying in the same position. There will be an actual body there instead of a pile of rubble to show he was hallucinating parts of the night before.
Cuts back to close up of guitar (00:02)
Two shots from earlier and played again to show it is an endless cycle (00:01)

Repeated over shoulder shot (00:01)
Antagonist finishes his swing. Shown through high angle. Cuts to blackness when the bat gets close to the camera (00:01)
Cuts to band's diegesis. Close up of singers mouth singing the lyrics of the next verse. (00:02)


Over shoulder shot showing what the protagonist is looking at - eye line match (00:05)

Zoom into protagonists angry face, zooms to left eye (00:02)
Animated distortion plays, this distortion turns into the animated fight.
The animated fight is a 30 seconds long take of the actors performing a piece of fight choreography, the camera will pan around the actors at a long - medium shot distance.


Cuts to performance diegesis with close up of the guitar being played (00:02)


The camera will then come out of the fade and it will be the morning with the protagonist laying in the same position. There will be an actual body there instead of a pile of rubble to show he was hallucinating parts of the night before.
Cuts back to close up of guitar (00:02)
Two shots from earlier and played again to show it is an endless cycle (00:01)
Repeated over shoulder shot (00:01)
Subscribe to:
Comments (Atom)